Floor and wall placement: position your products in augmented reality
No commitment, no credit card required.
Why placement is essential in augmented reality
Augmented reality lets your customers project your products into their real environment via their smartphone. But for this projection to be credible and useful, the product must appear in the right place: a sofa placed on the living room floor, a painting hung on the hallway wall, a shelf fixed at the right height in the office.
The choice of placement mode — floor or wall — determines how the 3D model interacts with the customer's physical space. A floor-placed piece of furniture uses horizontal surface detection to sit naturally on the floor. A wall object uses vertical surface detection to attach to the wall, as if it were actually mounted.
Incorrect placement ruins the experience. Imagine a wardrobe floating 30 centimeters off the ground, or a mirror that appears to be sitting on the floor instead of hanging on the wall. The customer immediately loses confidence in the 3D representation and abandons the visualization. Conversely, correct placement creates a striking realism effect: the product seems truly present in the room, boosting confidence and purchase intent.
That's why the choice between floor and wall placement isn't a technical detail — it's a central element of the customer experience. On Visuality, this choice is made with a single click in your 3D object settings, and it radically changes how your product is perceived in augmented reality.
Floor placement
Floor placement is the most common positioning mode in augmented reality. It relies on horizontal plane detection technology built into modern smartphones. When the customer activates augmented reality, the phone camera analyzes the environment in real time using ARCore (Android) and ARKit (iOS) frameworks. These technologies identify horizontal surfaces — floor, table, countertop — and allow a 3D object to be anchored stably and realistically.
In practice, the customer points their smartphone at the room floor. The system detects the surface within seconds, then displays a visual indicator showing the plane is ready. The customer taps the screen to place the product, which then appears naturally positioned on the floor at 1:1 scale. They can then walk around the virtual product, reposition it, and observe it from all angles, exactly as if it were physically present in the room.
Floor placement is ideal for all products that naturally rest on a horizontal surface. The use cases are numerous and varied:
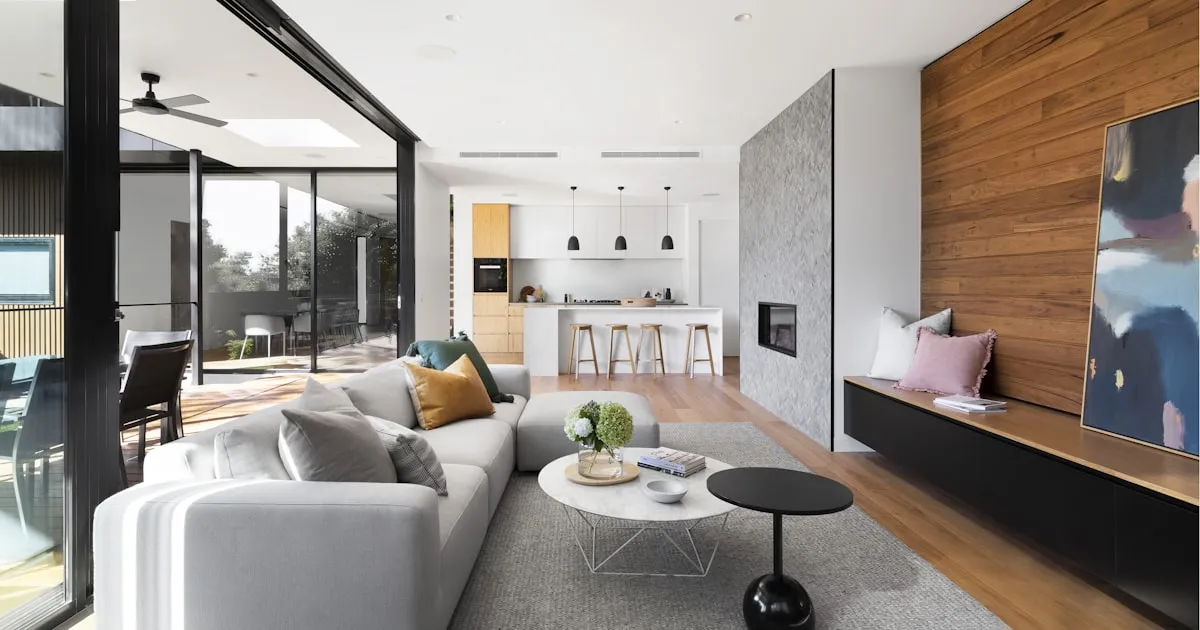
- Furniture: Sofas, armchairs, tables, chairs, sideboards, dressers, beds — all living room, dining room, bedroom, and office furniture. The customer verifies dimensions, harmony with existing decor, and the actual footprint of the furniture in the room.
- Industrial machines and equipment: Machine tools, industrial printers, production equipment, compressors. The customer or technician verifies that the machine fits in the planned space, that maintenance access is clear, and that connections are accessible.
- Home appliances: Refrigerators, washing machines, stoves, ovens — home appliances are often constrained by precise built-in dimensions. Floor AR lets you verify integration into the kitchen or laundry space before purchase.
- Vehicles and machinery: Cars, motorcycles, tractors, construction equipment — floor placement is the only relevant mode for vehicles. The customer visualizes the vehicle in their garage, yard, or warehouse to assess the actual footprint.
- Decor and objects: Decorative plants, sculptures, floor lamps, vases — all decorative objects that sit on the floor benefit from horizontal placement for realistic integration into the customer's interior.
Wall placement
Wall placement is the second positioning mode offered by Visuality. It uses vertical plane detection, a technology that identifies wall surfaces in the customer's environment. The smartphone analyzes the room's walls and allows a 3D object to be anchored to them, as if it were actually mounted or hung.
The operation is similar to floor placement, but adapted for vertical surfaces. The customer points their smartphone at the desired wall. The system detects the vertical surface, then displays a visual marker indicating the wall is ready to receive the object. The customer taps the screen at the desired location, and the product appears mounted on the wall at its actual size. They can adjust the position by sliding their finger on the screen and observe the result from different angles by moving around the room.
Wall placement addresses a specific need: visualizing objects designed to be mounted on a vertical surface. The use cases are particularly relevant for the following products:
- Shelves and wall storage: Floating shelves, wall cabinets, suspended bookcases, kitchen storage — the customer visualizes the storage unit mounted on the exact wall where it will be installed and checks harmony with the existing layout. They can test different heights and positions before drilling a single hole.
- Paintings and wall art: Paintings, framed photographs, decorative posters, tapestries — wall visualization is essential for assessing the visual impact of an artwork on a given wall. The customer checks proportions relative to wall size, harmony with furniture below, and overall decorative balance.
- Screens and TVs: Wall-mounted TVs, display screens, monitors — the customer verifies that the screen diagonal suits the available viewing distance in the room and that the wall position allows comfortable viewing from the sofa.
- Mirrors: Decorative mirrors, bathroom mirrors, full-length mirrors — wall placement lets you verify the size, style, and position of the mirror on the intended wall before ordering.
- Wall light fixtures: Wall sconces, directional spots, reading lights — the customer places the light on the wall at the desired height to check integration with the rest of the decor and ensure the style meets their expectations.
- Wall cabinets and overhead furniture: Suspended kitchen units, bathroom cabinets, wall closets — these overhead fixtures require wall visualization to verify they don't obstruct movement and that proportions are correct relative to the rest of the layout.
How to configure placement on Visuality
On Visuality, choosing the placement mode is a simple and immediate operation. From your dashboard, access your 3D object settings. You'll find a placement option with two choices: floor placement or wall placement. A single click is all it takes to switch between modes.
When you select floor placement, Visuality automatically configures the 3D viewer to detect horizontal surfaces and anchor your product at floor level. This is the default mode, suitable for most products: furniture, machines, vehicles, appliances.
When you select wall placement, the viewer is configured to detect vertical surfaces and place your product against the wall. This mode is designed for shelves, paintings, mirrors, screens, wall sconces, and any object intended to be mounted at height.
The placement change takes effect immediately. You don't need to reload your 3D model, modify the sharing link, or regenerate your QR code. The change is seamless for your customers, who will automatically benefit from the correct placement mode during their next augmented reality viewing.
If you offer a mixed product catalog — for example floor-standing furniture and wall shelves — each object can have its own placement mode. You're not limited to a single mode for your entire catalog. Each product is configured individually, ensuring an optimal augmented reality experience for every product type.
Tips for good placement
The placement mode is a simple parameter to configure, but a few best practices can optimize your customers' augmented reality experience:
- Respect your model's real scale: Regardless of the placement mode, dimensional accuracy is fundamental. A 3D model whose dimensions don't match the real product will look wrong in augmented reality. Measure your product precisely and ensure the 3D file respects these dimensions to the millimeter. This is the foundation of a convincing AR experience.
- Test in real conditions: Before publishing an object with its placement mode, test the augmented reality in an environment similar to your customers'. Place a piece of furniture on the floor in a real living room, hang a shelf on a real wall. Verify that the rendering looks natural, the scale is correct, and the object integrates credibly into the environment.
- Choose the right mode from the start: A product that sits on the floor should never be configured for wall placement, and vice versa. The choice seems obvious, but it's common to see wall shelves configured in floor mode or coffee tables in wall mode. Take the time to verify each product in your catalog.
- Inform your customers about the mode used: If you share your 3D objects via QR code or link, add a visual or textual indication specifying the placement type. For example: 'Place this furniture in your living room' for a floor object, or 'Hang this shelf on your wall' for a wall object. This guidance helps the customer immediately understand how to interact with augmented reality.
- Check your model's orientation: In wall mode, make sure the front face of your 3D model is correctly oriented toward the viewer. A painting with its back facing the customer or a shelf showing its rear instead of the front creates a poor first impression. Test the orientation and adjust it if necessary in the Visuality editor.
- Consider ambiguous products: Some products can work in both modes. A light fixture can be a floor lamp or a wall sconce. A clock can sit on a shelf or hang on a wall. In these cases, choose the mode that matches your product's primary use, or create two separate listings if both uses are common.
Take action
Floor and wall placement is a native Visuality feature, included in all subscriptions. Whether you sell living room furniture, designer shelves, art paintings, or industrial machines, you can configure each product to appear exactly where it should be in augmented reality.
Import your 3D models, choose the placement mode suited to each product, and give your customers a realistic and engaging viewing experience. In just a few clicks, your catalog comes to life in your customers' real space.
Try free for 7 days, no commitment and no credit card required.