Create a 3D model without 3D modeling
Preamble
In this article, we’ll guide you through transforming a real-world object into an optimized 3D model for augmented reality with Visuality — no modeling required!
In the example above, the armchair shown on the right was used as a reference to create the 3D model displayed on the left in augmented reality — all in just a few minutes and without any prior modeling!
Please note that this method is not suitable for all types of objects. Some, especially highly detailed ones, may not render optimally and could require traditional 3D modeling.
Capture of your object
To begin, you need to capture the object you want to turn into a 3D model.
Download the RealityScan Mobile app:


Open the app and follow the instructions to create an account. You'll arrive at this screen:
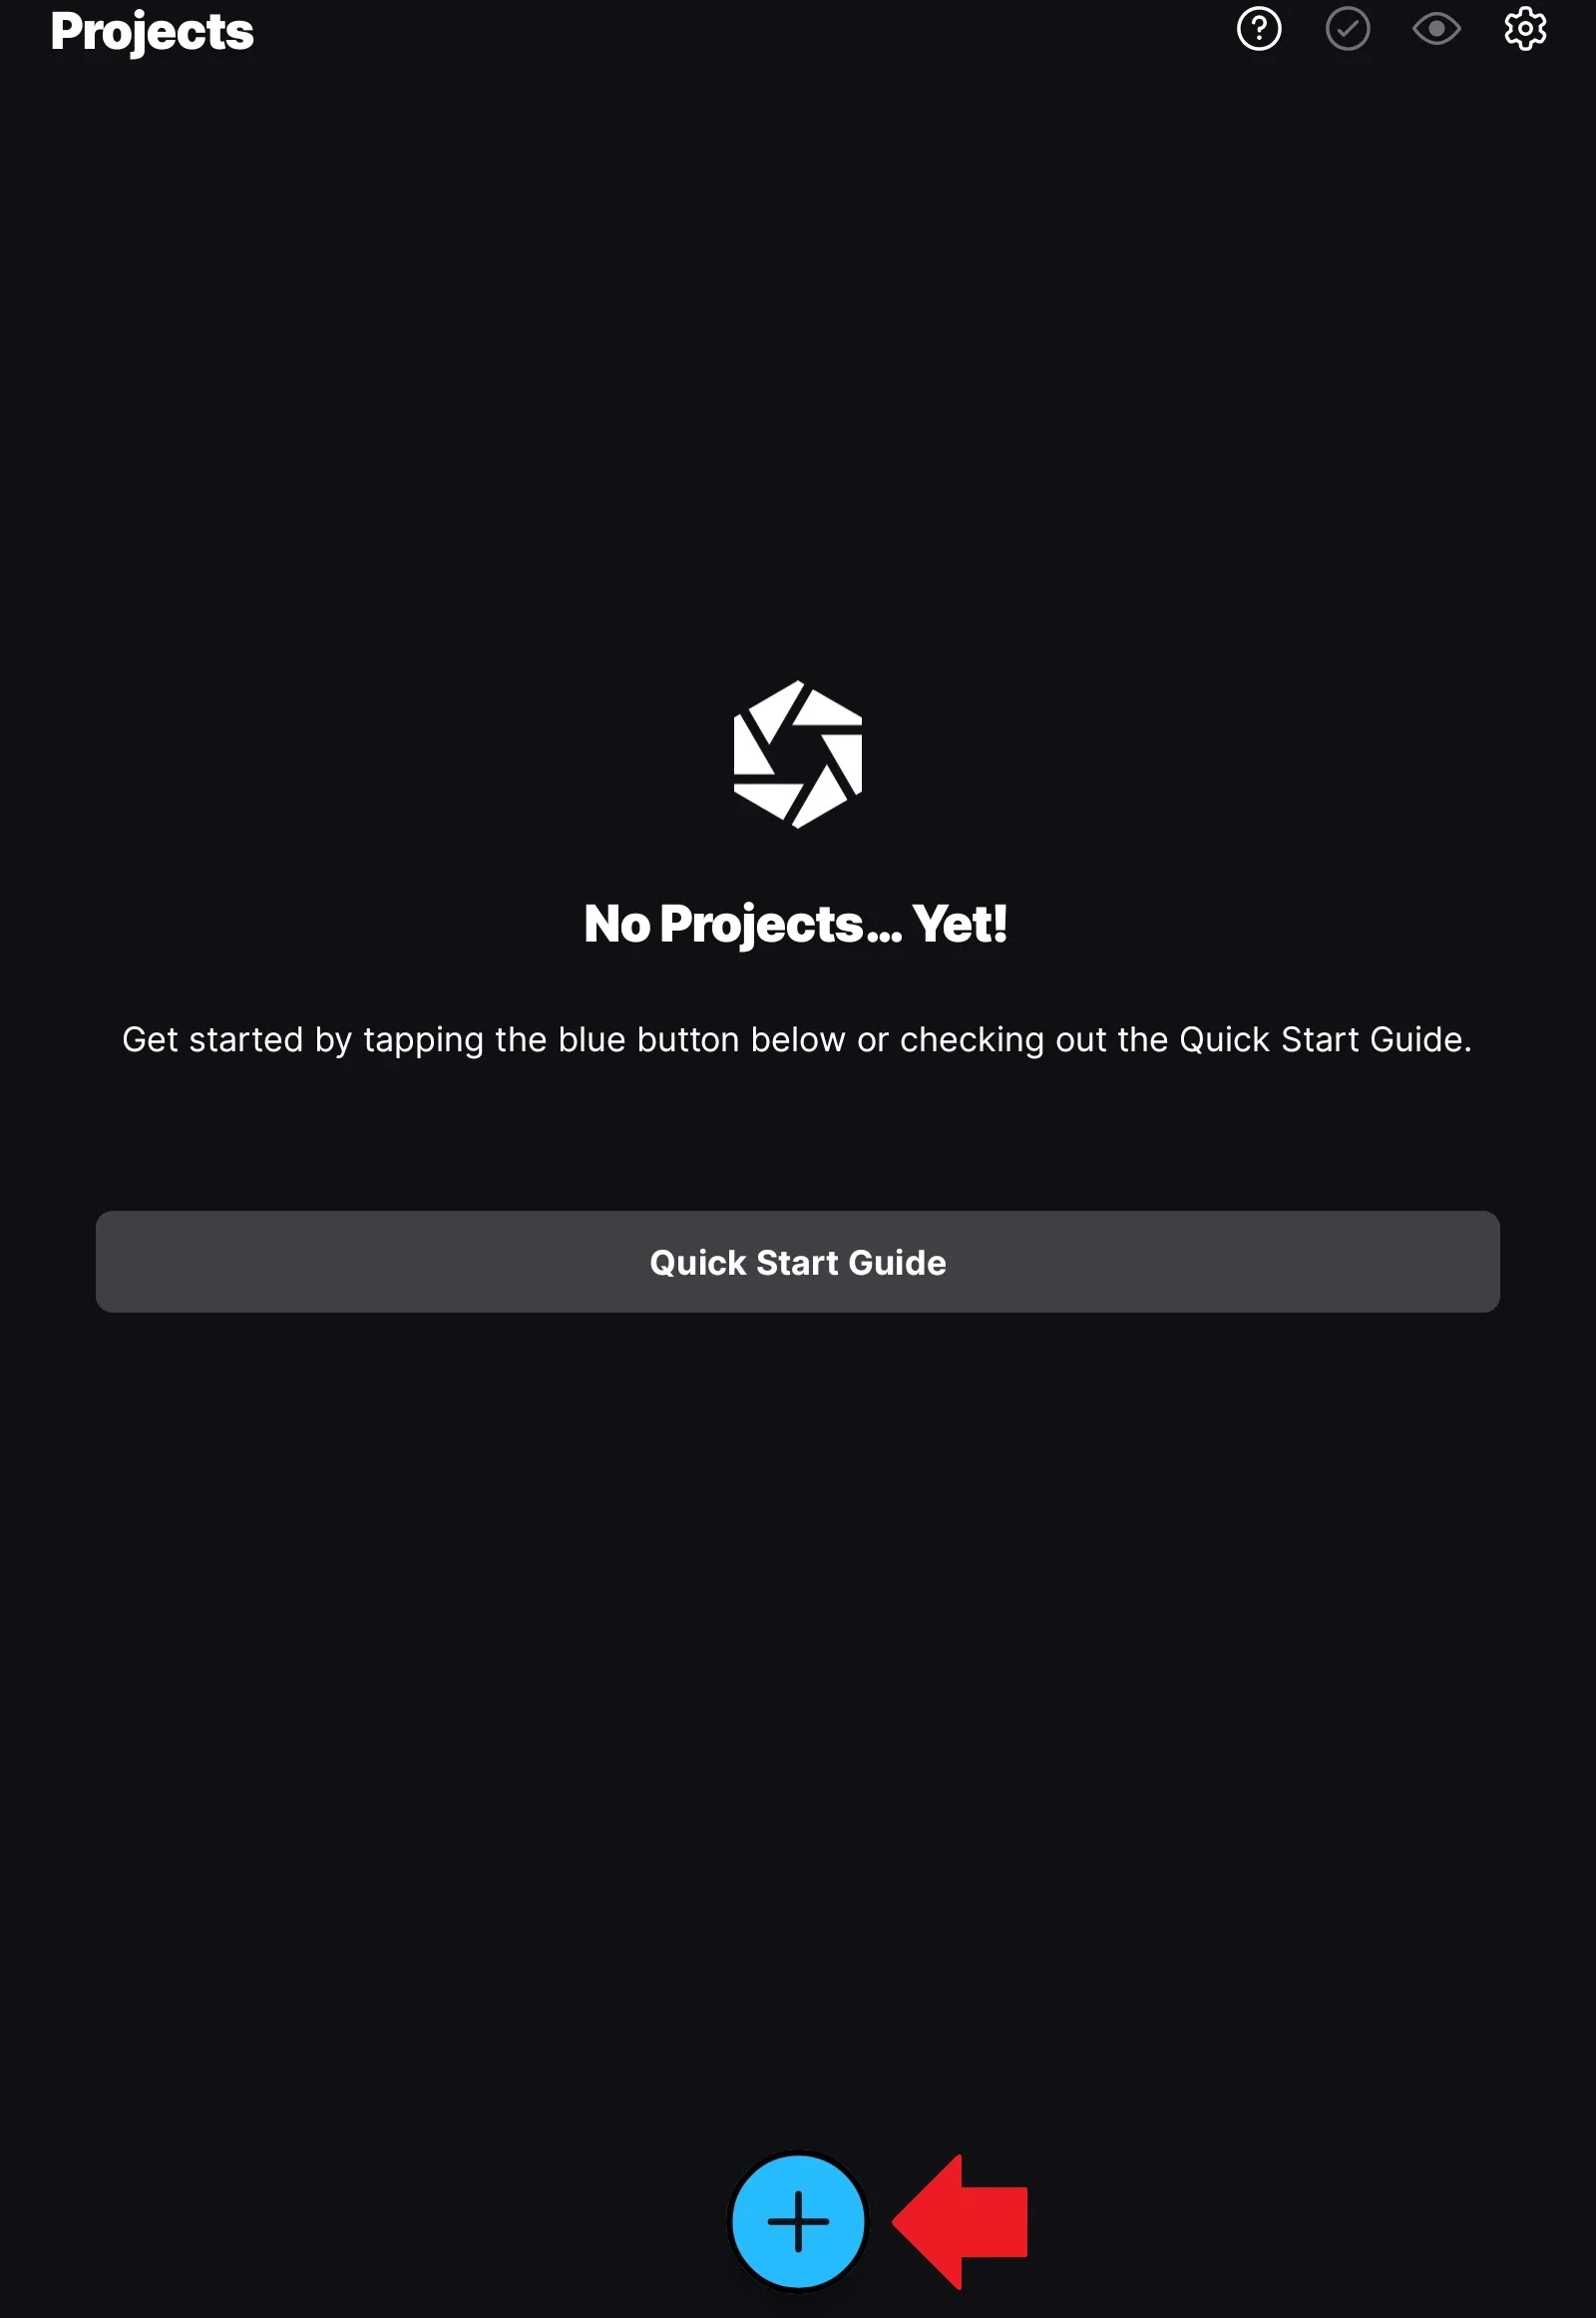
Tap the "+" button to reach this screen:
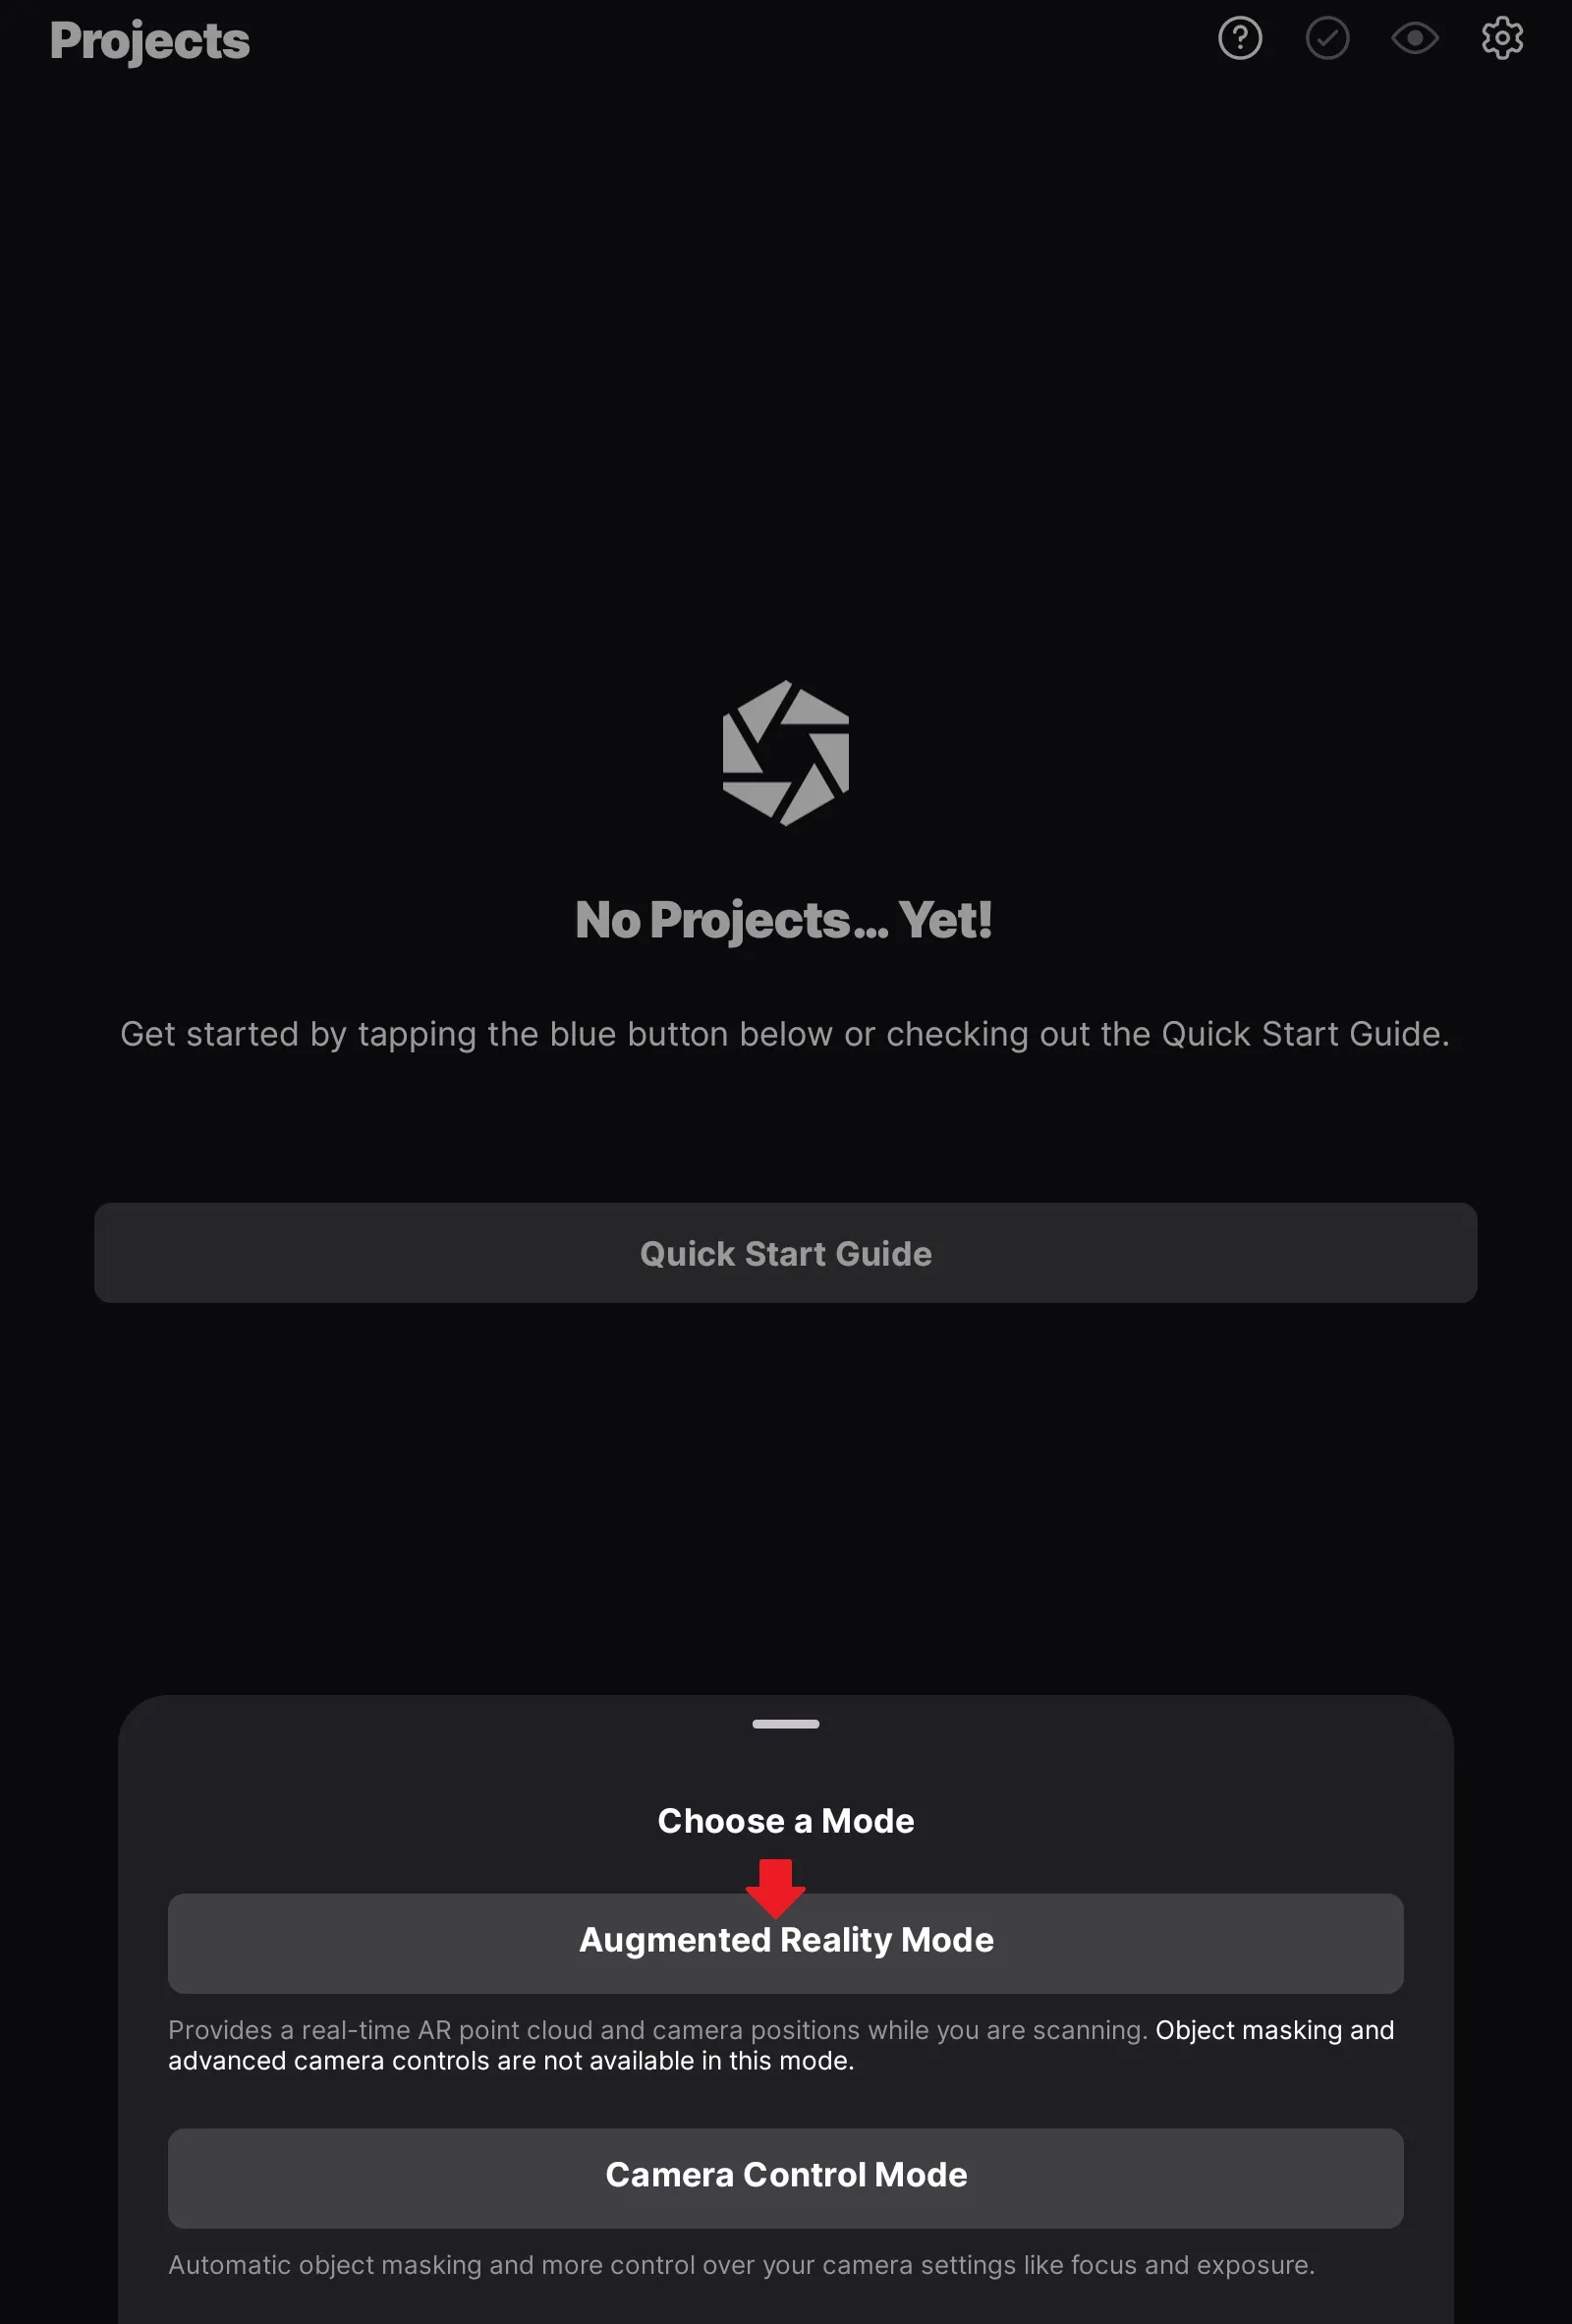
Select "Augmented Reality Mode". You are now in camera mode.
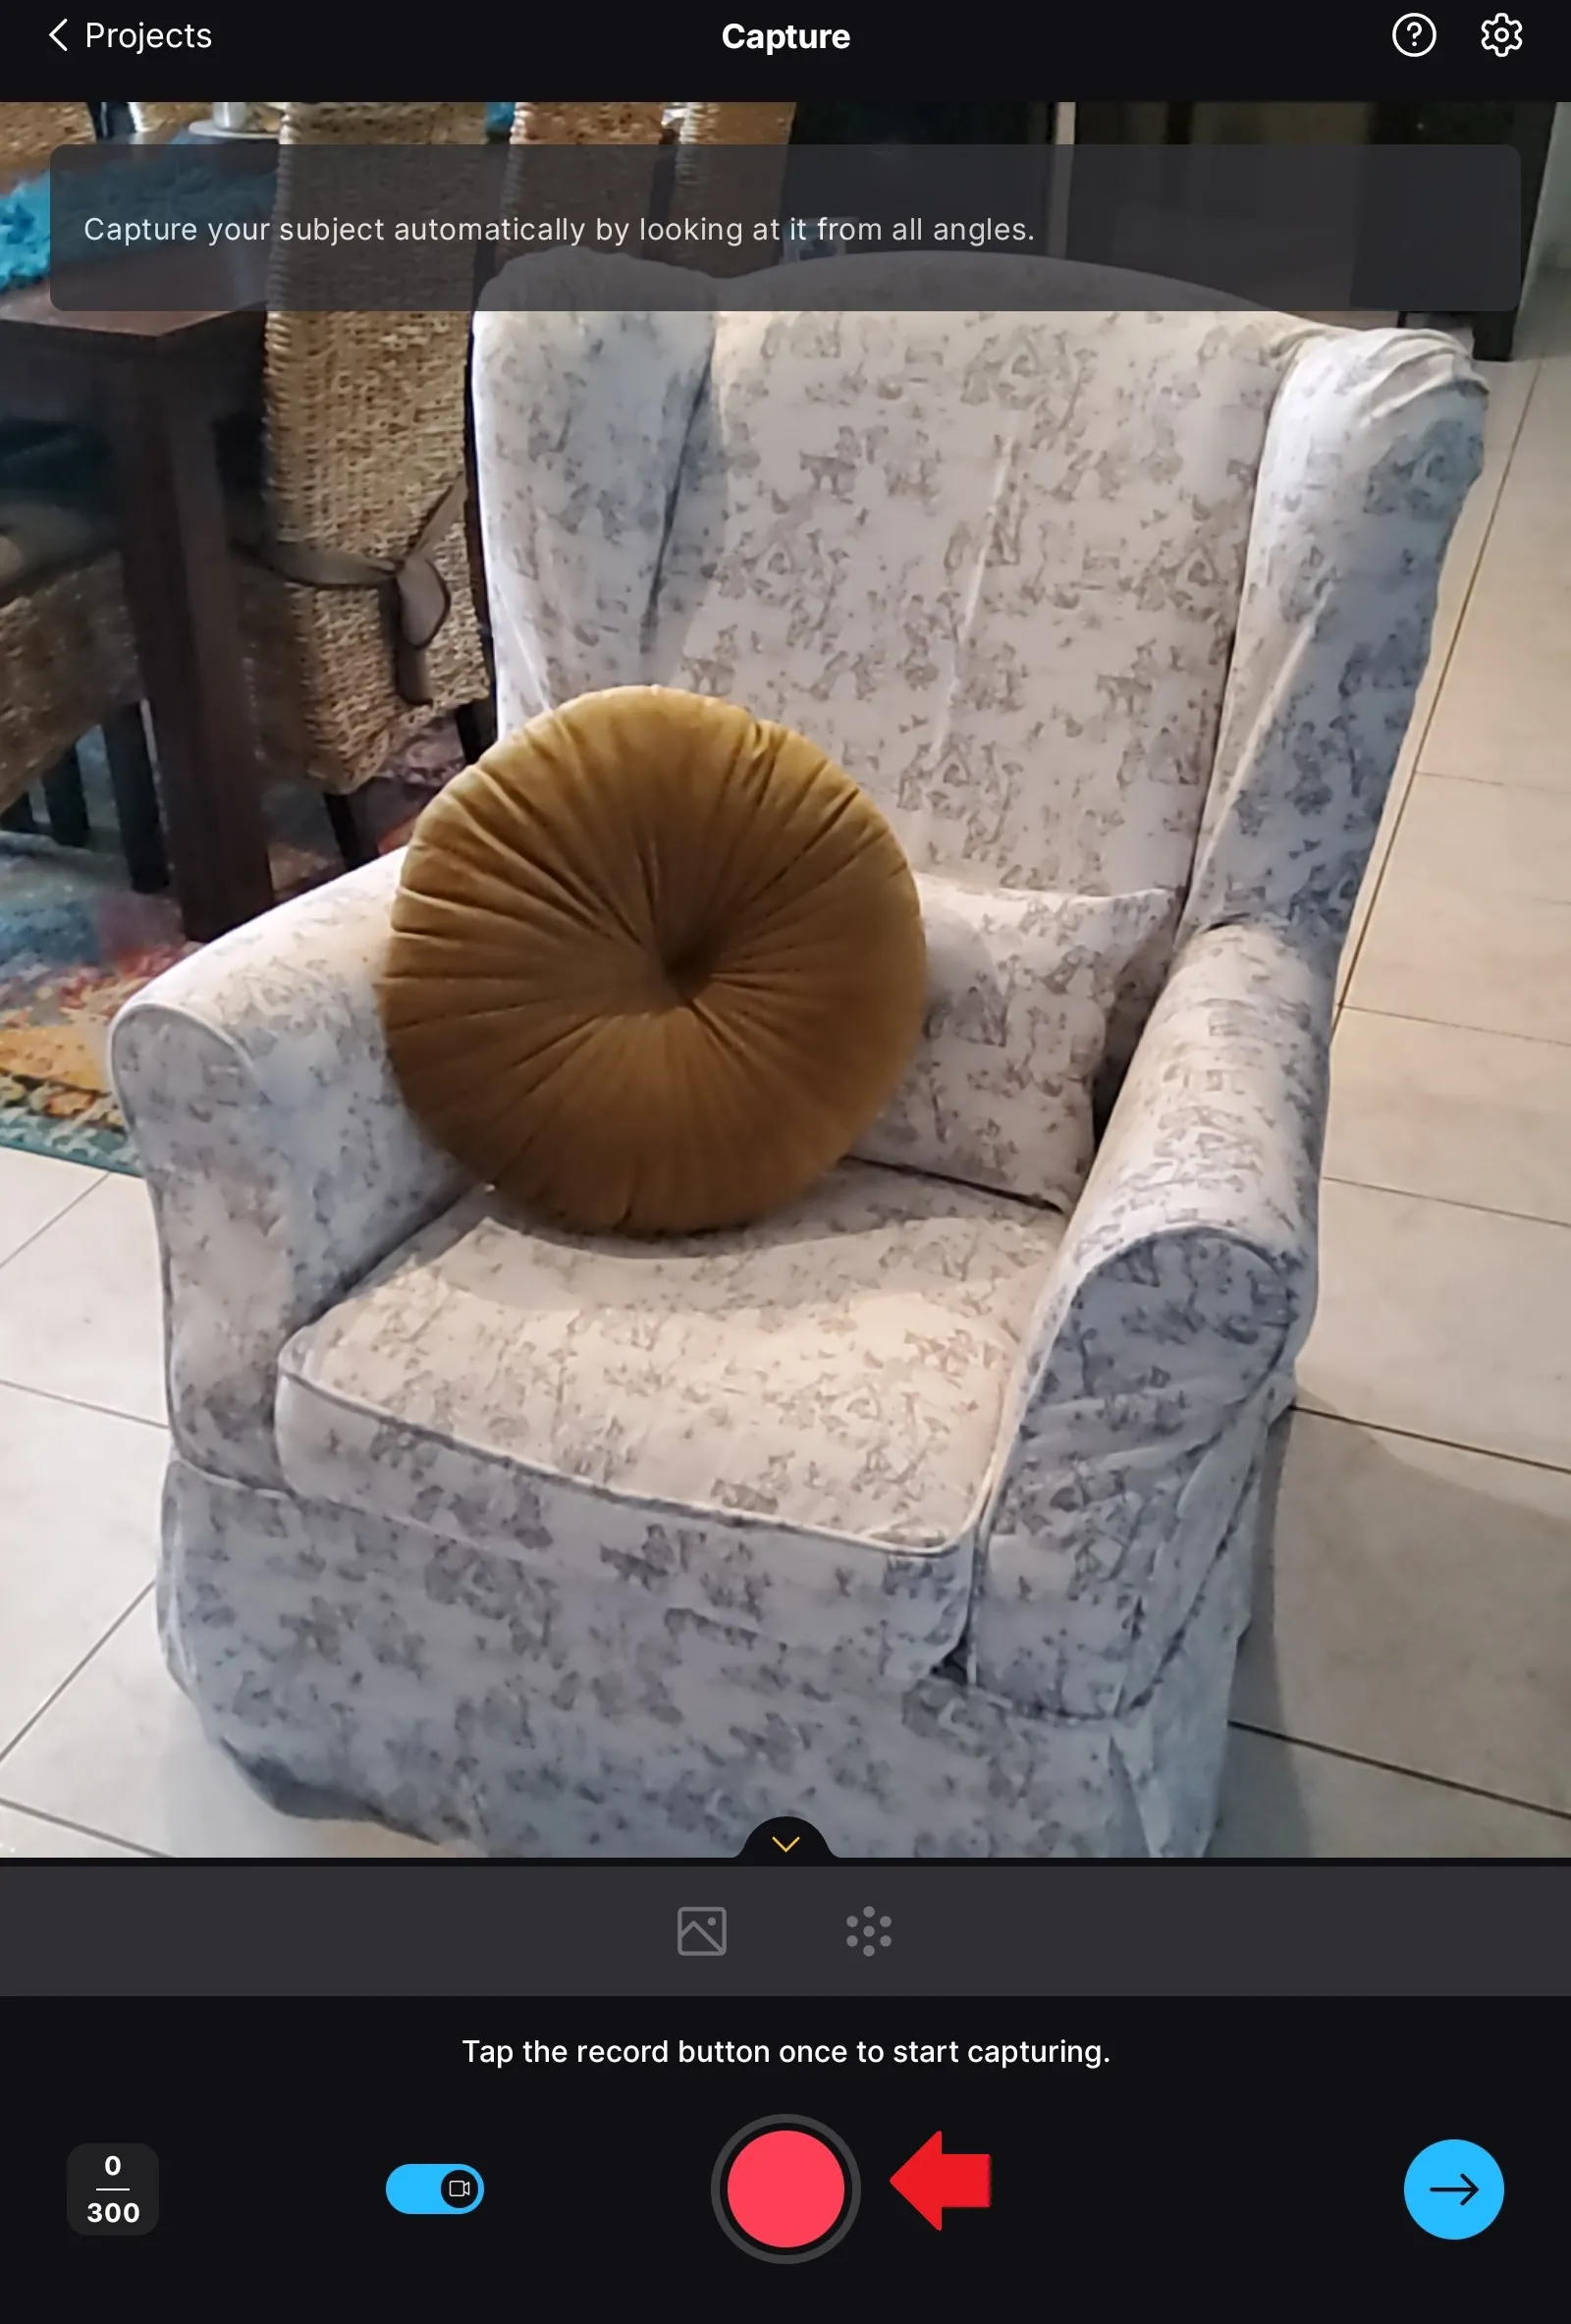
You'll need to capture photos of the object from every angle, both close-up and from a distance. To improve the quality of the 3D model, follow these guidelines:
- The device used should have a high-quality camera sensor.
- The room should be evenly lit, without shadow areas or harsh contrast.
- Make sure photos are sharp and the object is photographed from all angles.
- Alternate between close-up shots for details and wider shots for the overall shape.
- Generally, 100 to 150 photos are needed depending on the object’s size.
The quality of the 3D model will directly depend on how well these rules are followed.
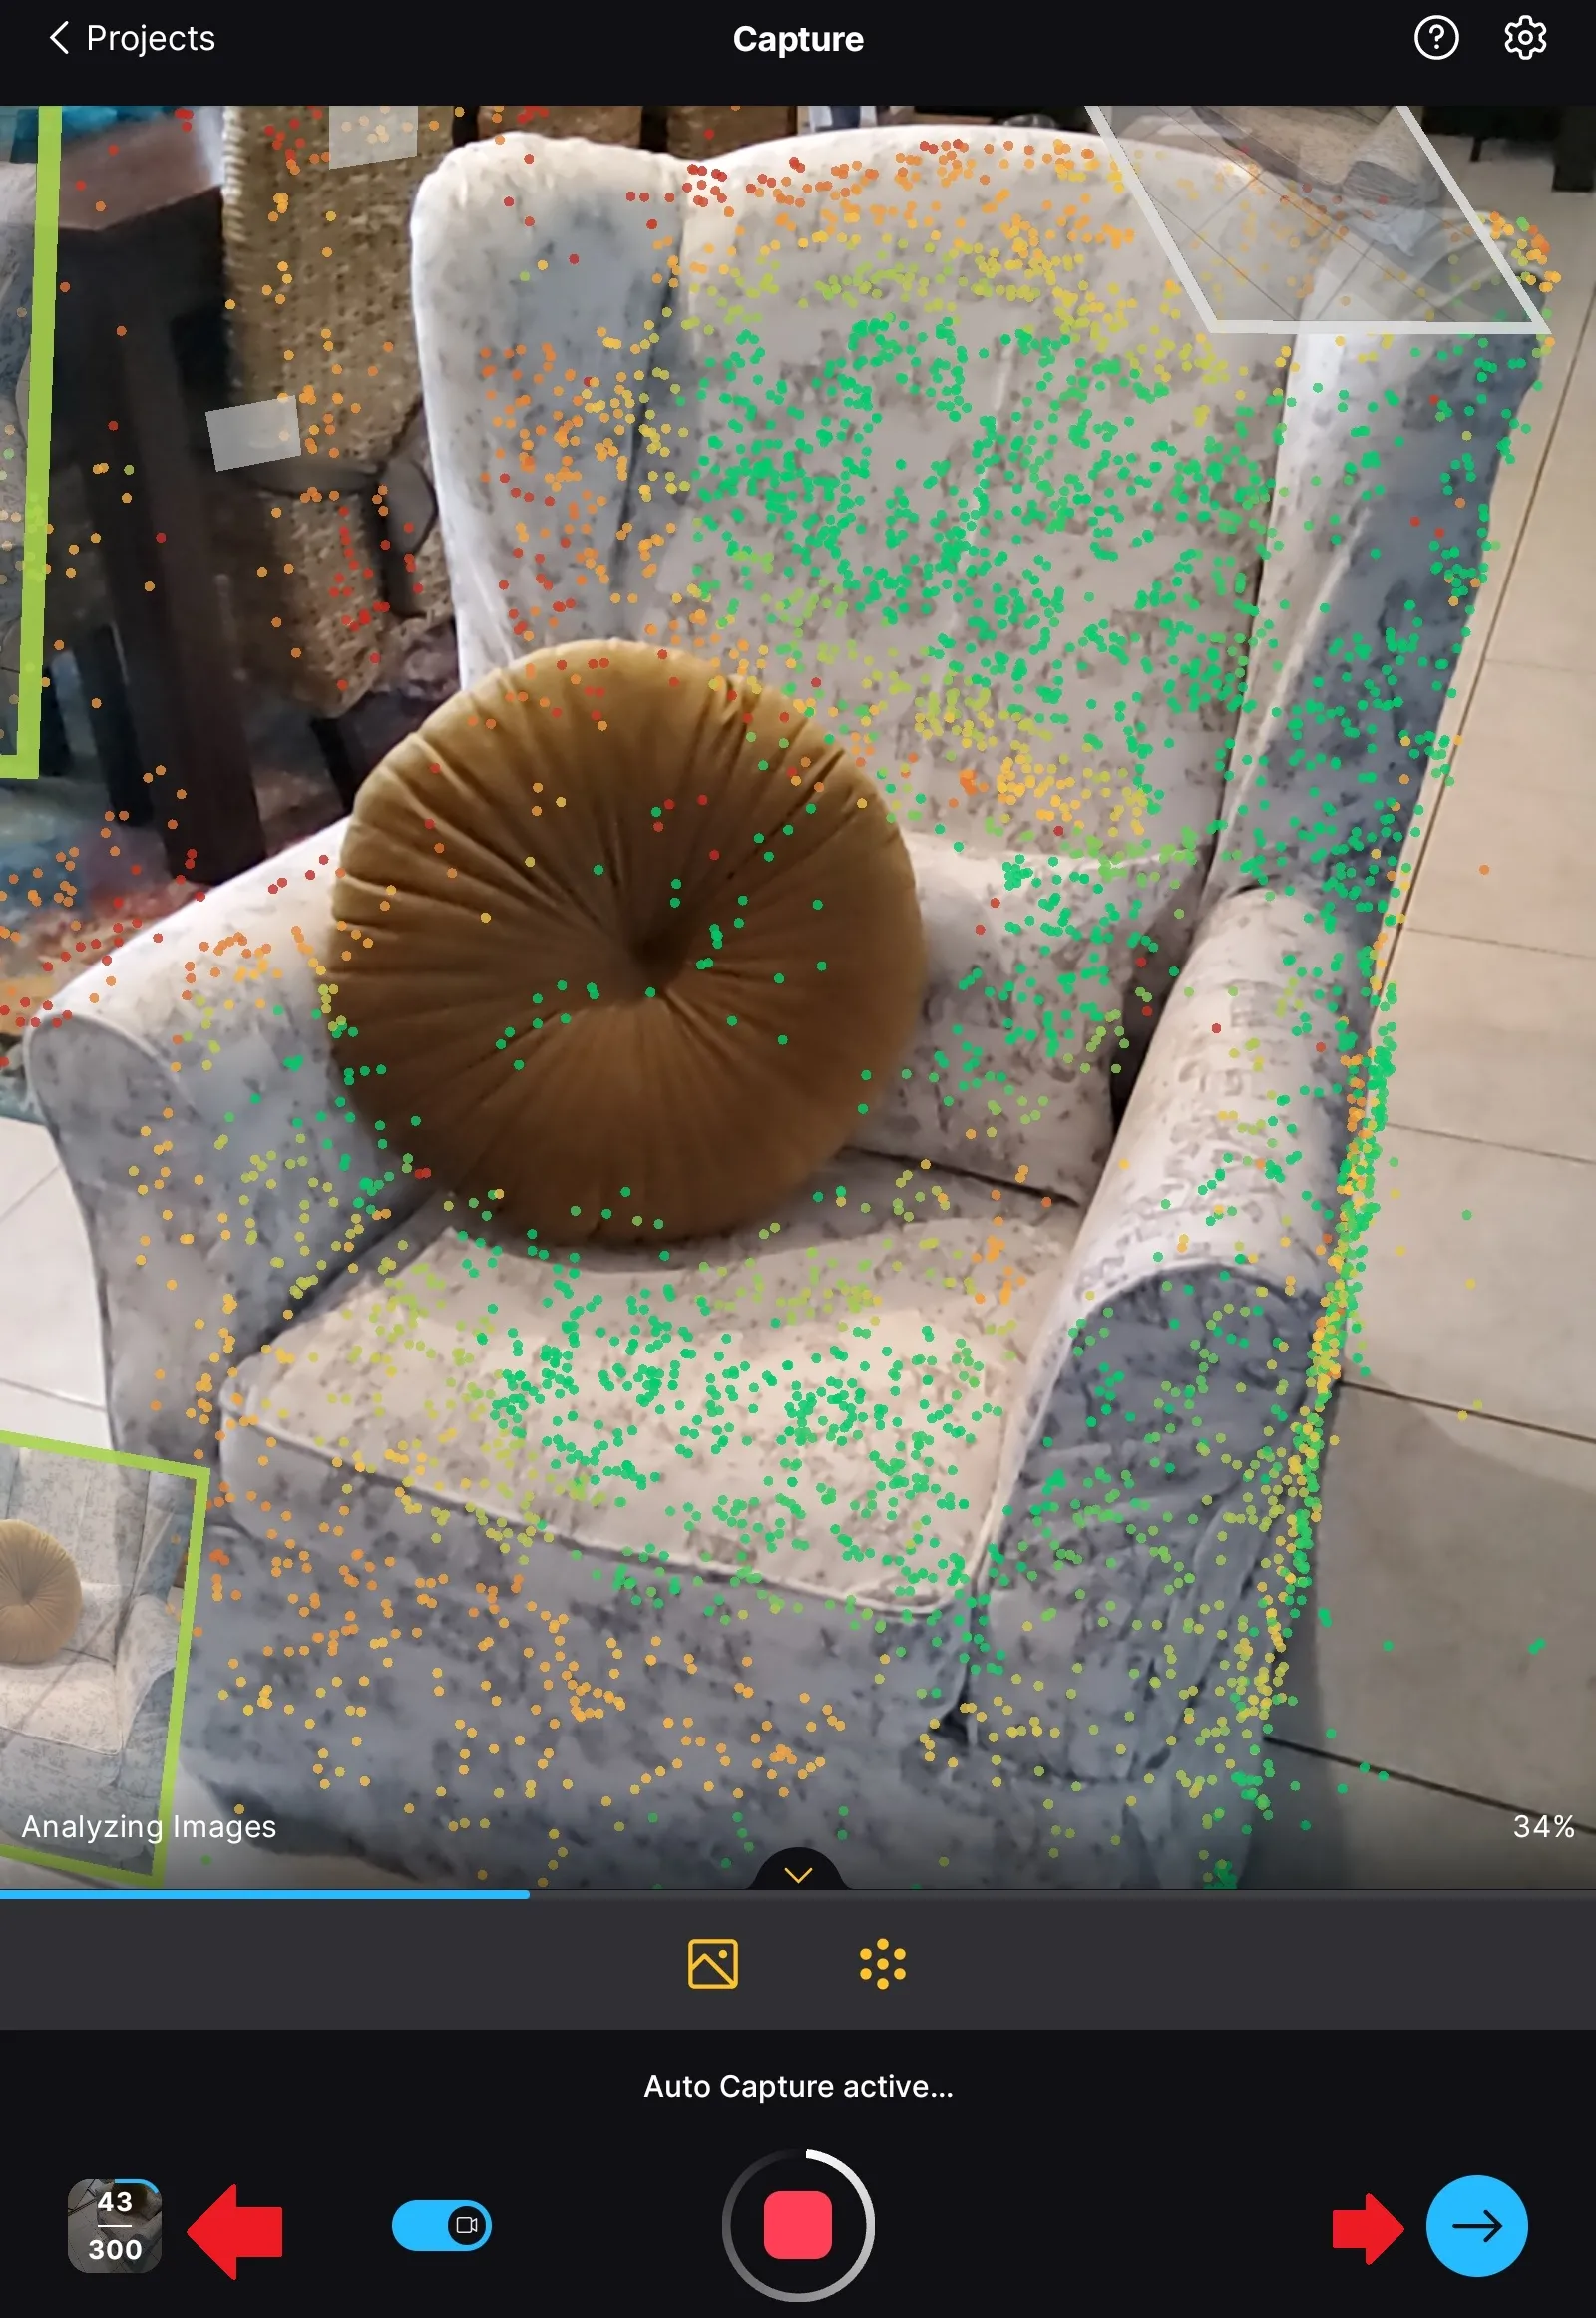
Tap the red button to begin capturing, and move slowly around the object. The photo count appears at the bottom left. After some time, a point cloud will appear. Red areas indicate parts with insufficient coverage — focus on those, but don’t ignore the others.
Once you’ve taken enough photos, tap the arrow. You’ll reach the following screen:
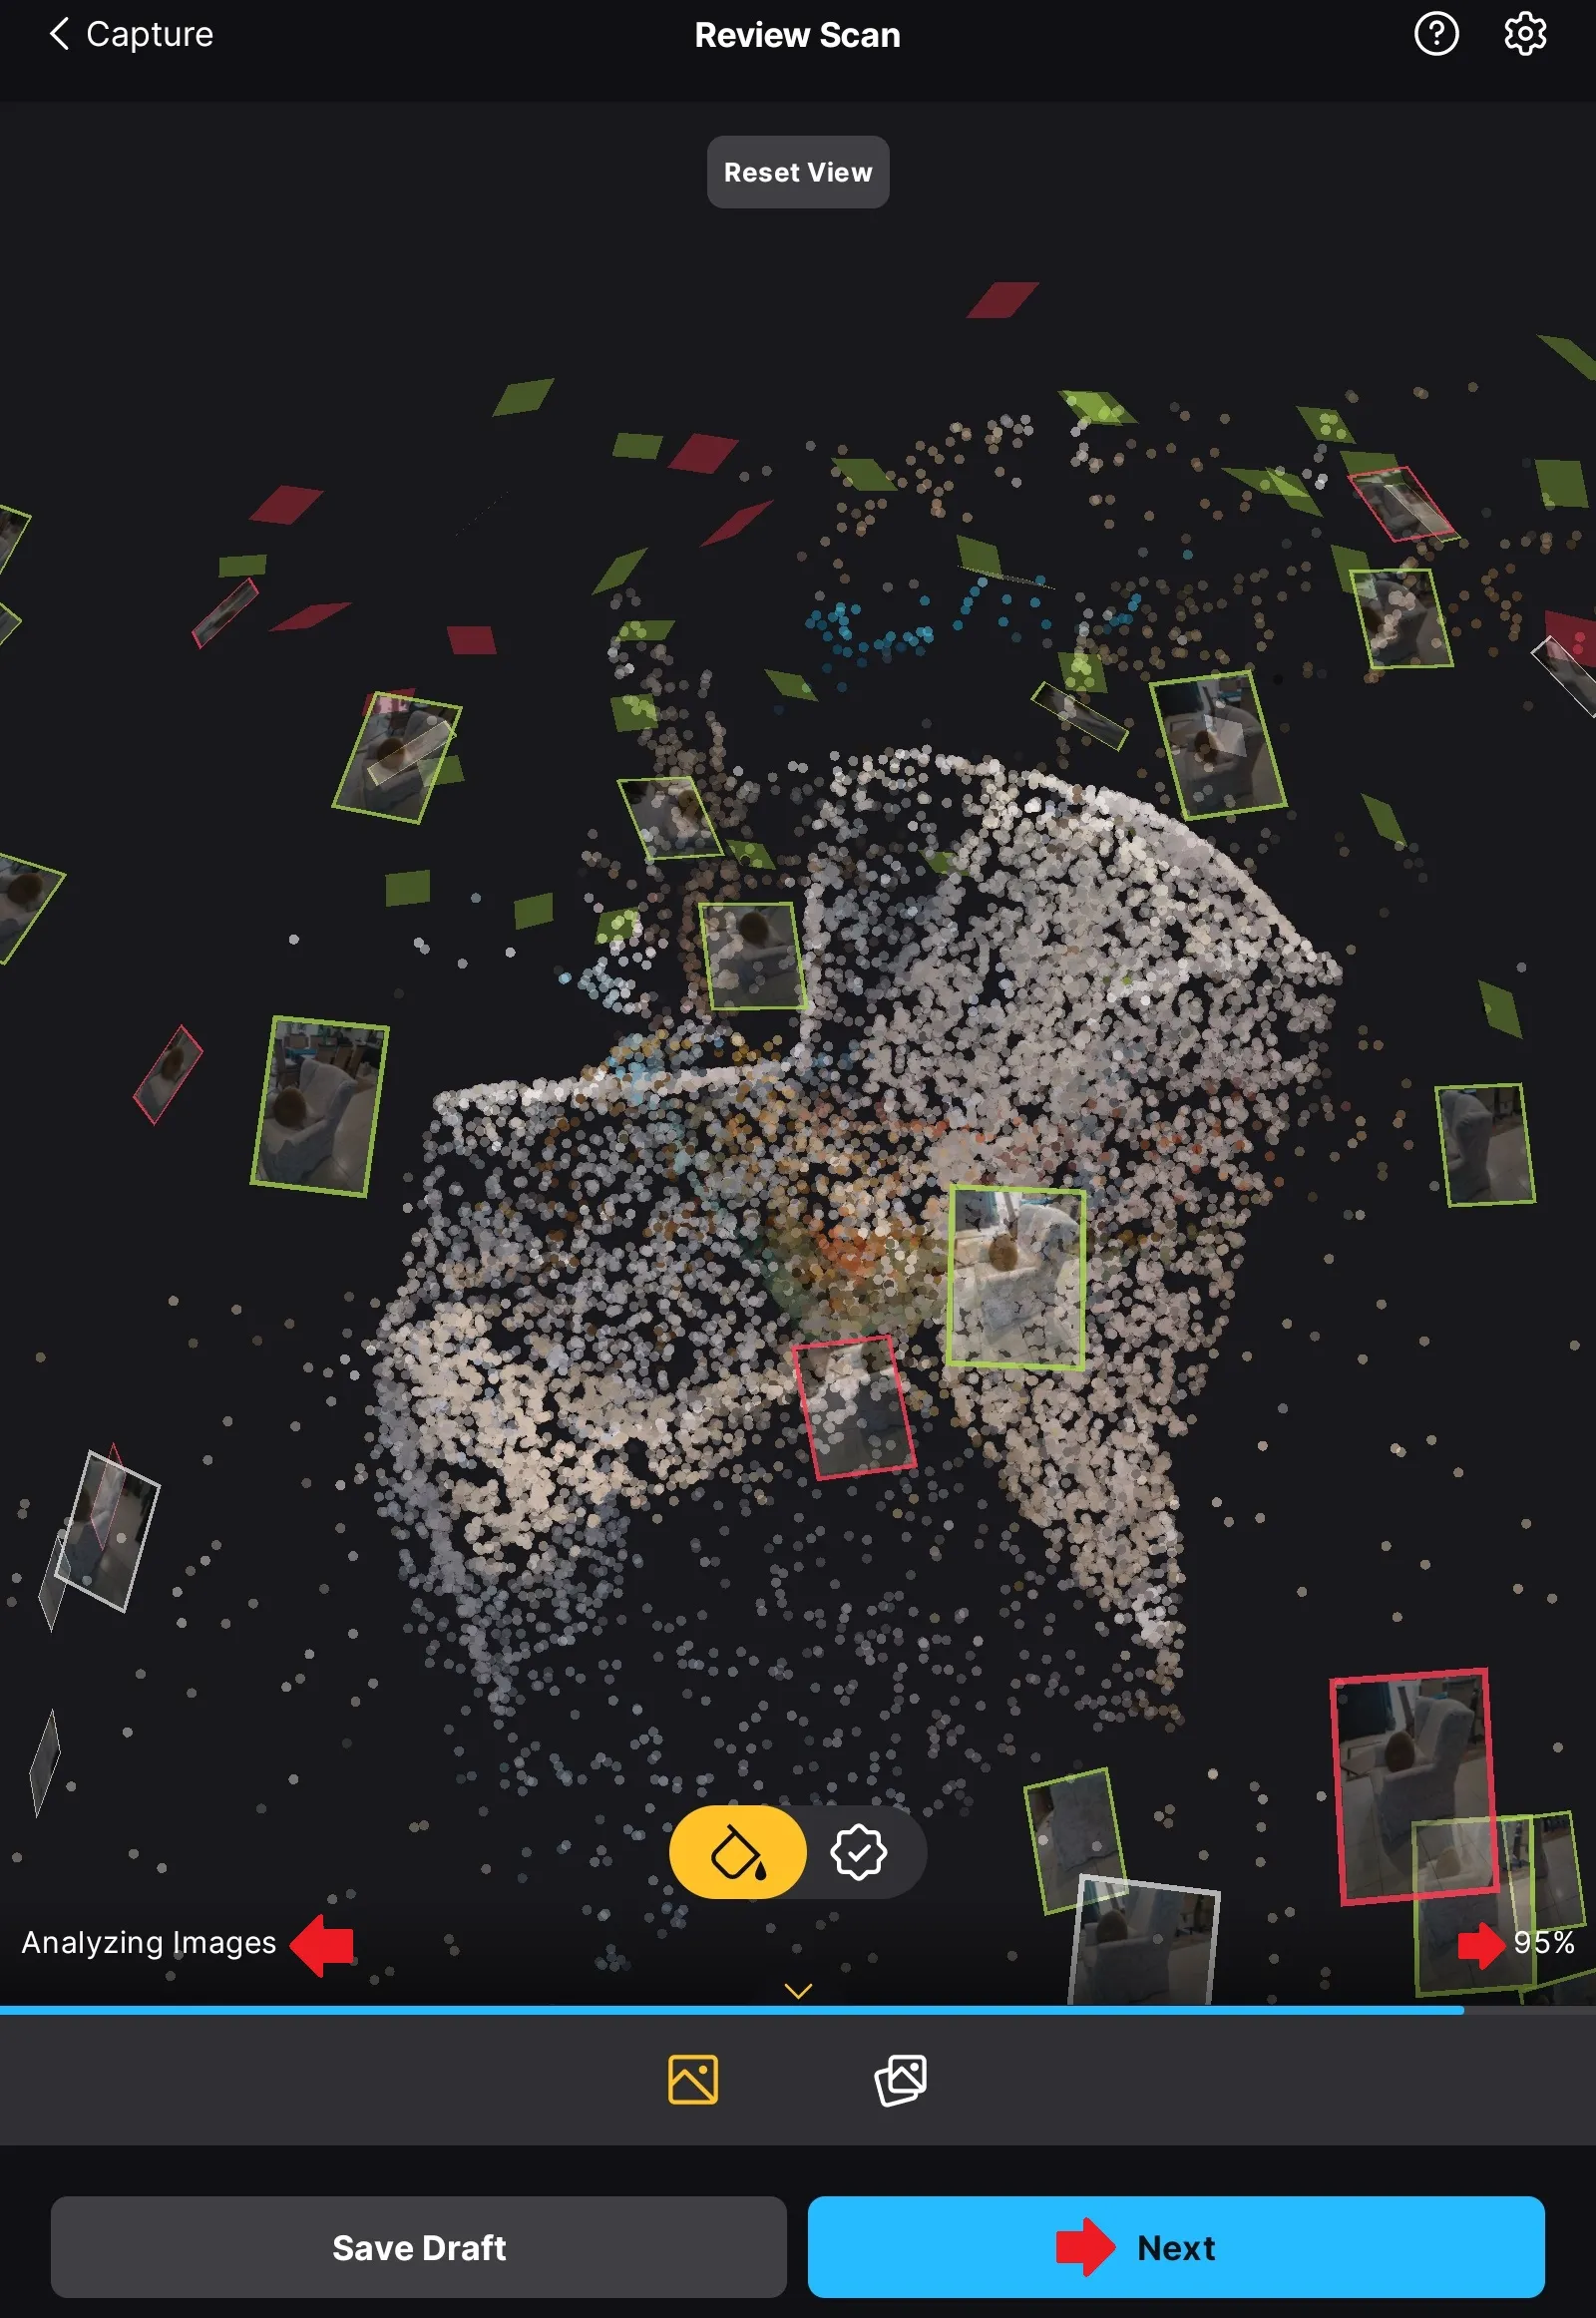
An analysis is in progress, with a percentage shown on the right. Once it’s done, click the arrow at the bottom right.
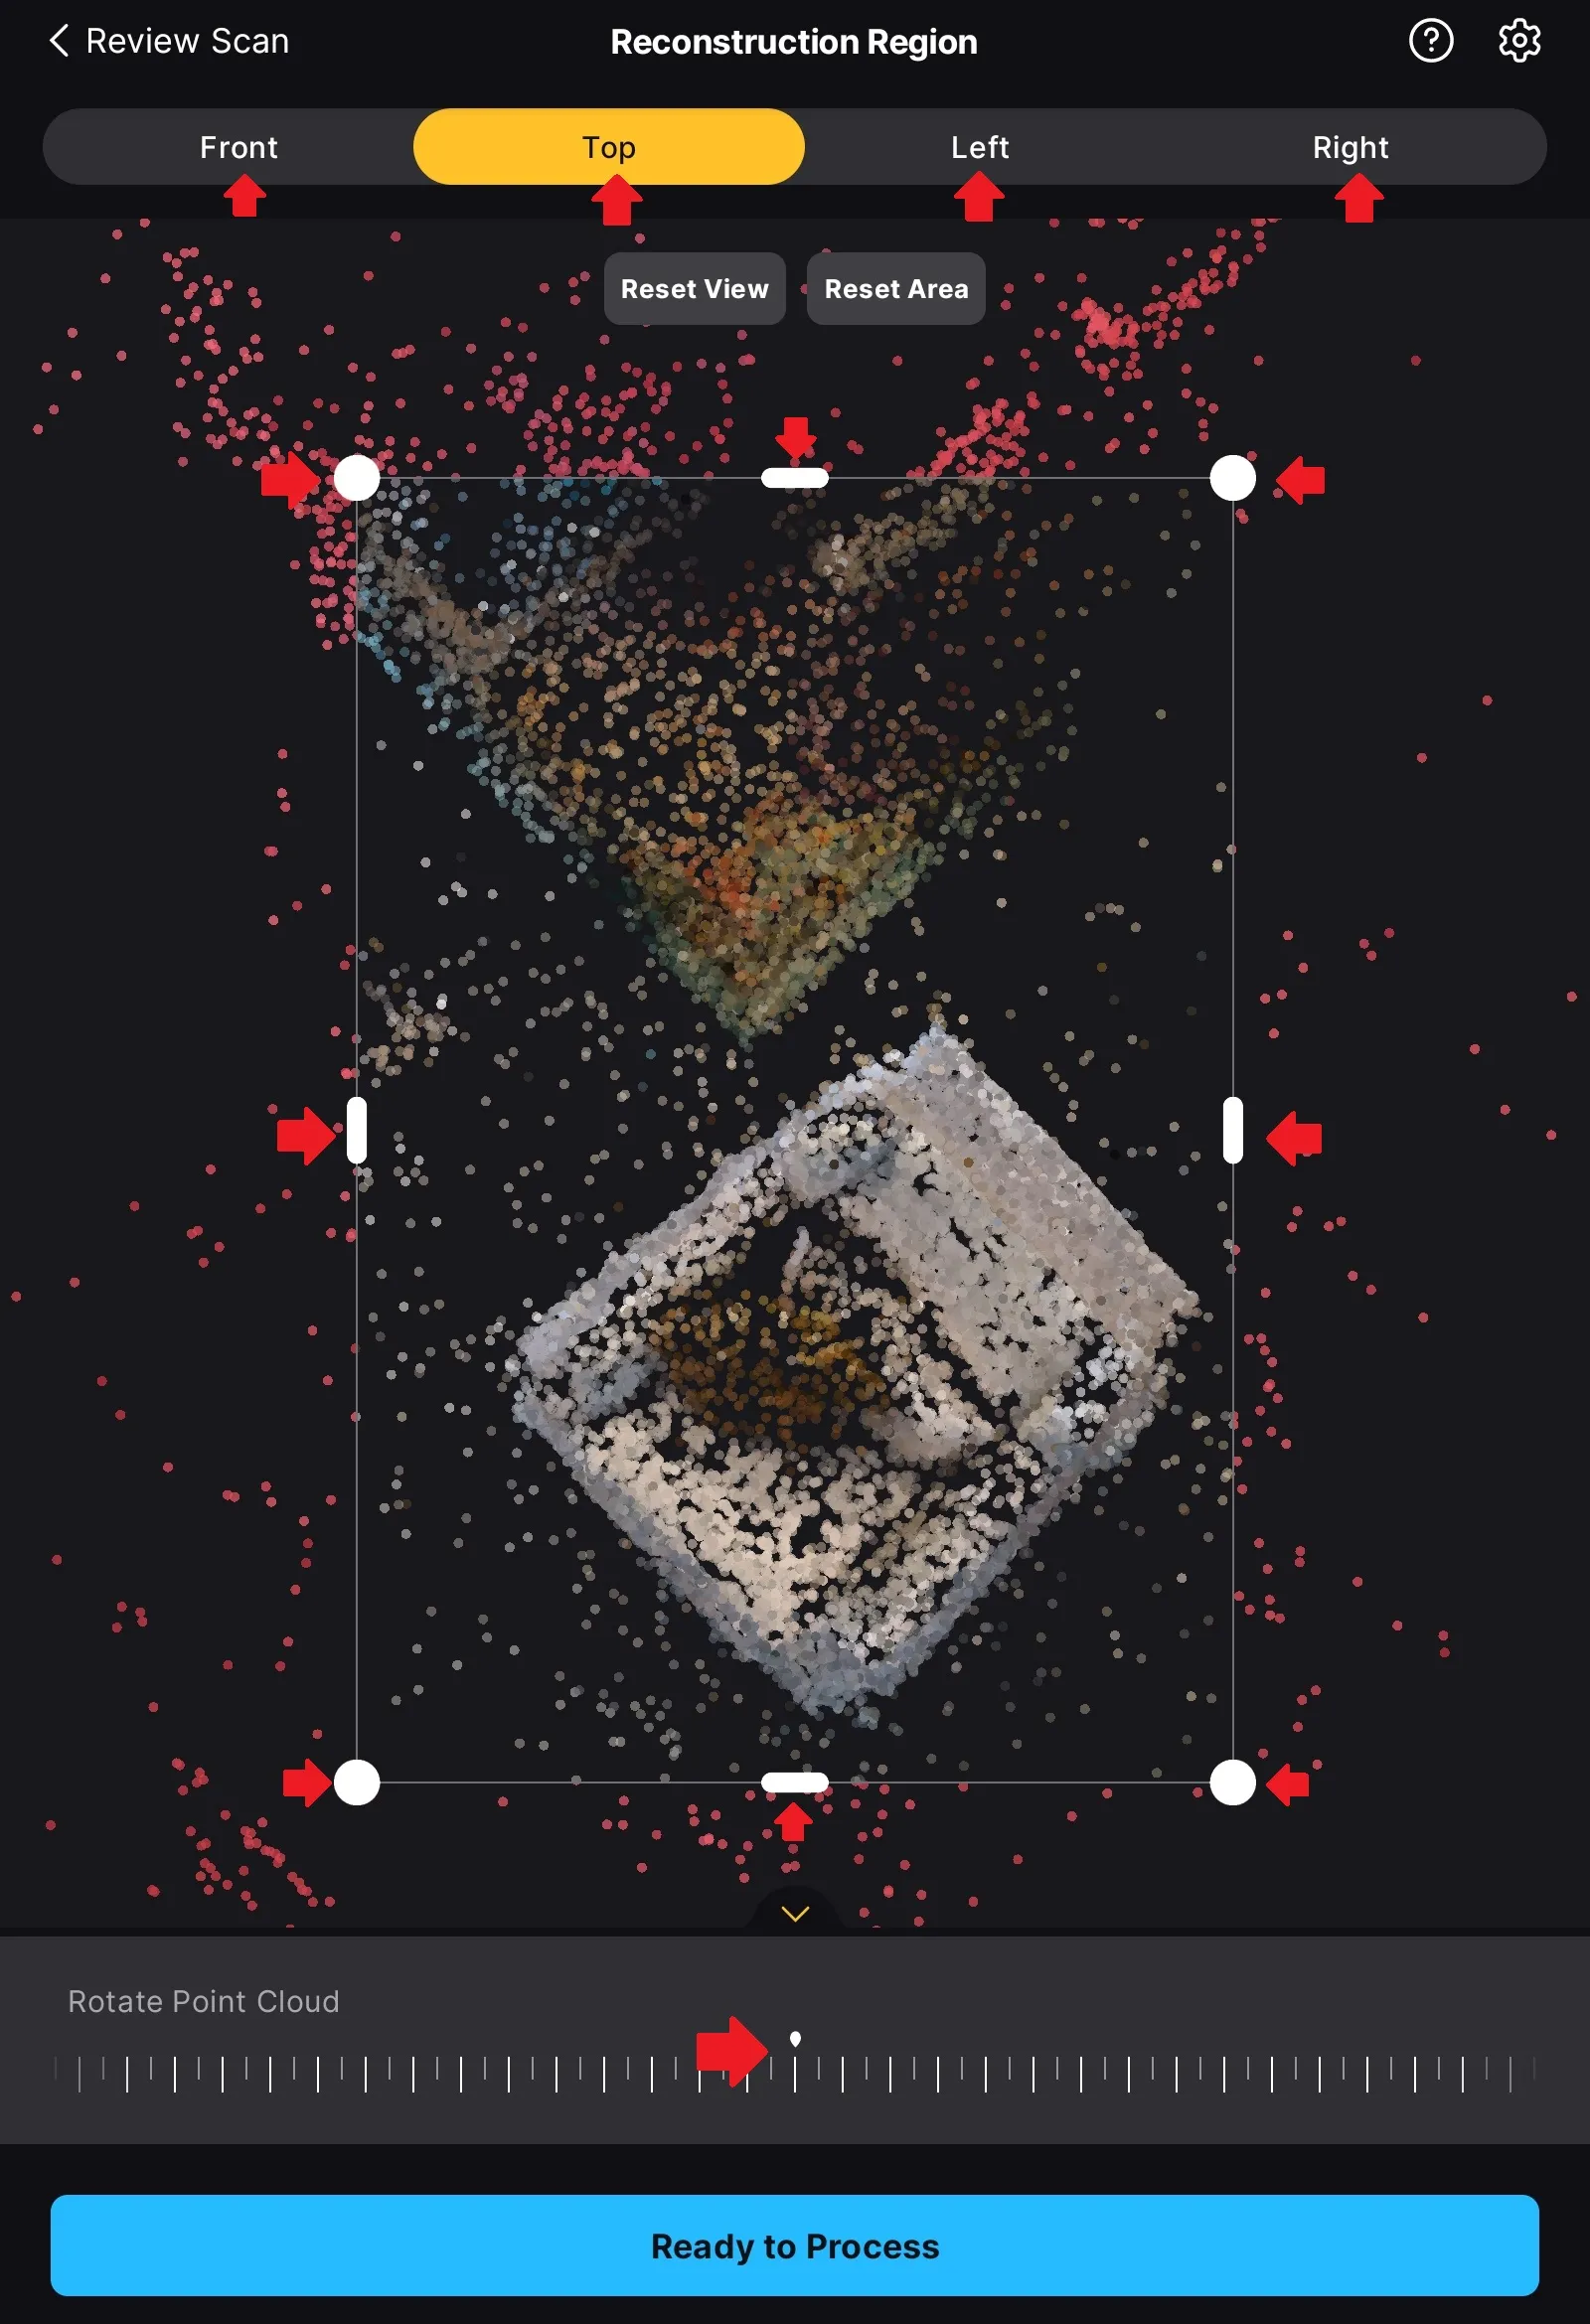
On this screen, crop the object by adjusting the arrows. Use the handles to refine your selection.
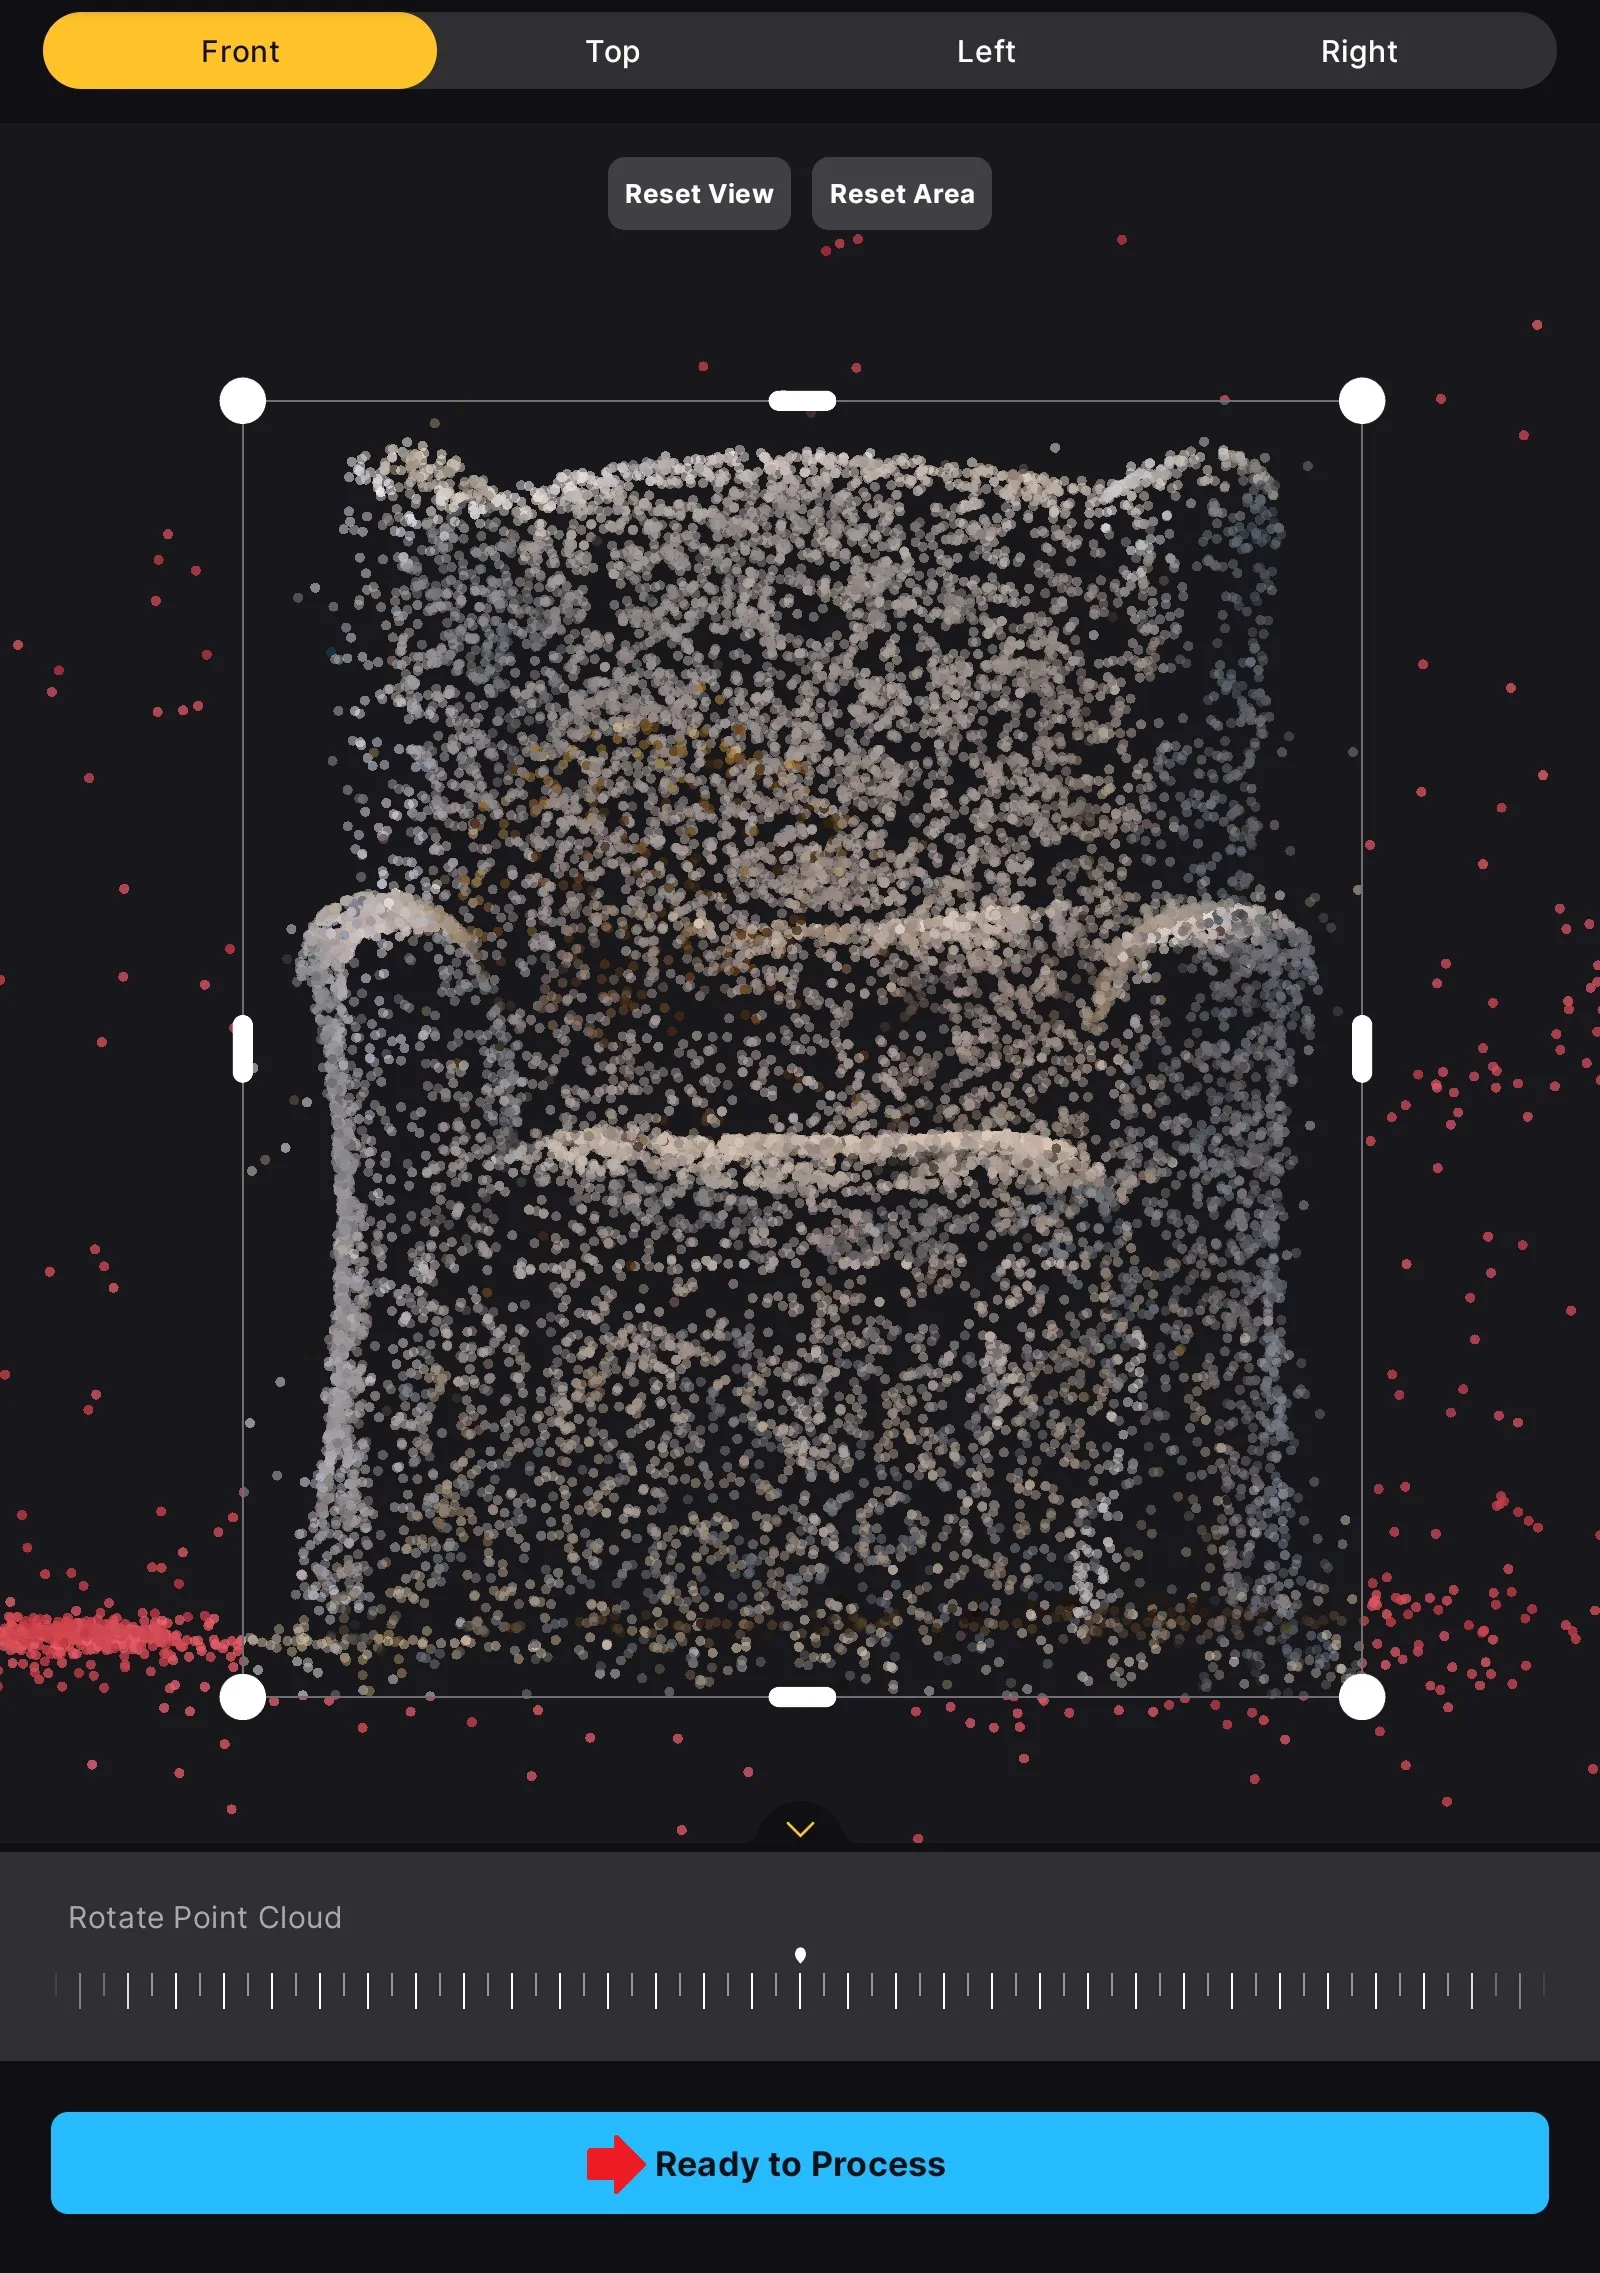
Once the object is centered, click "Ready to process".
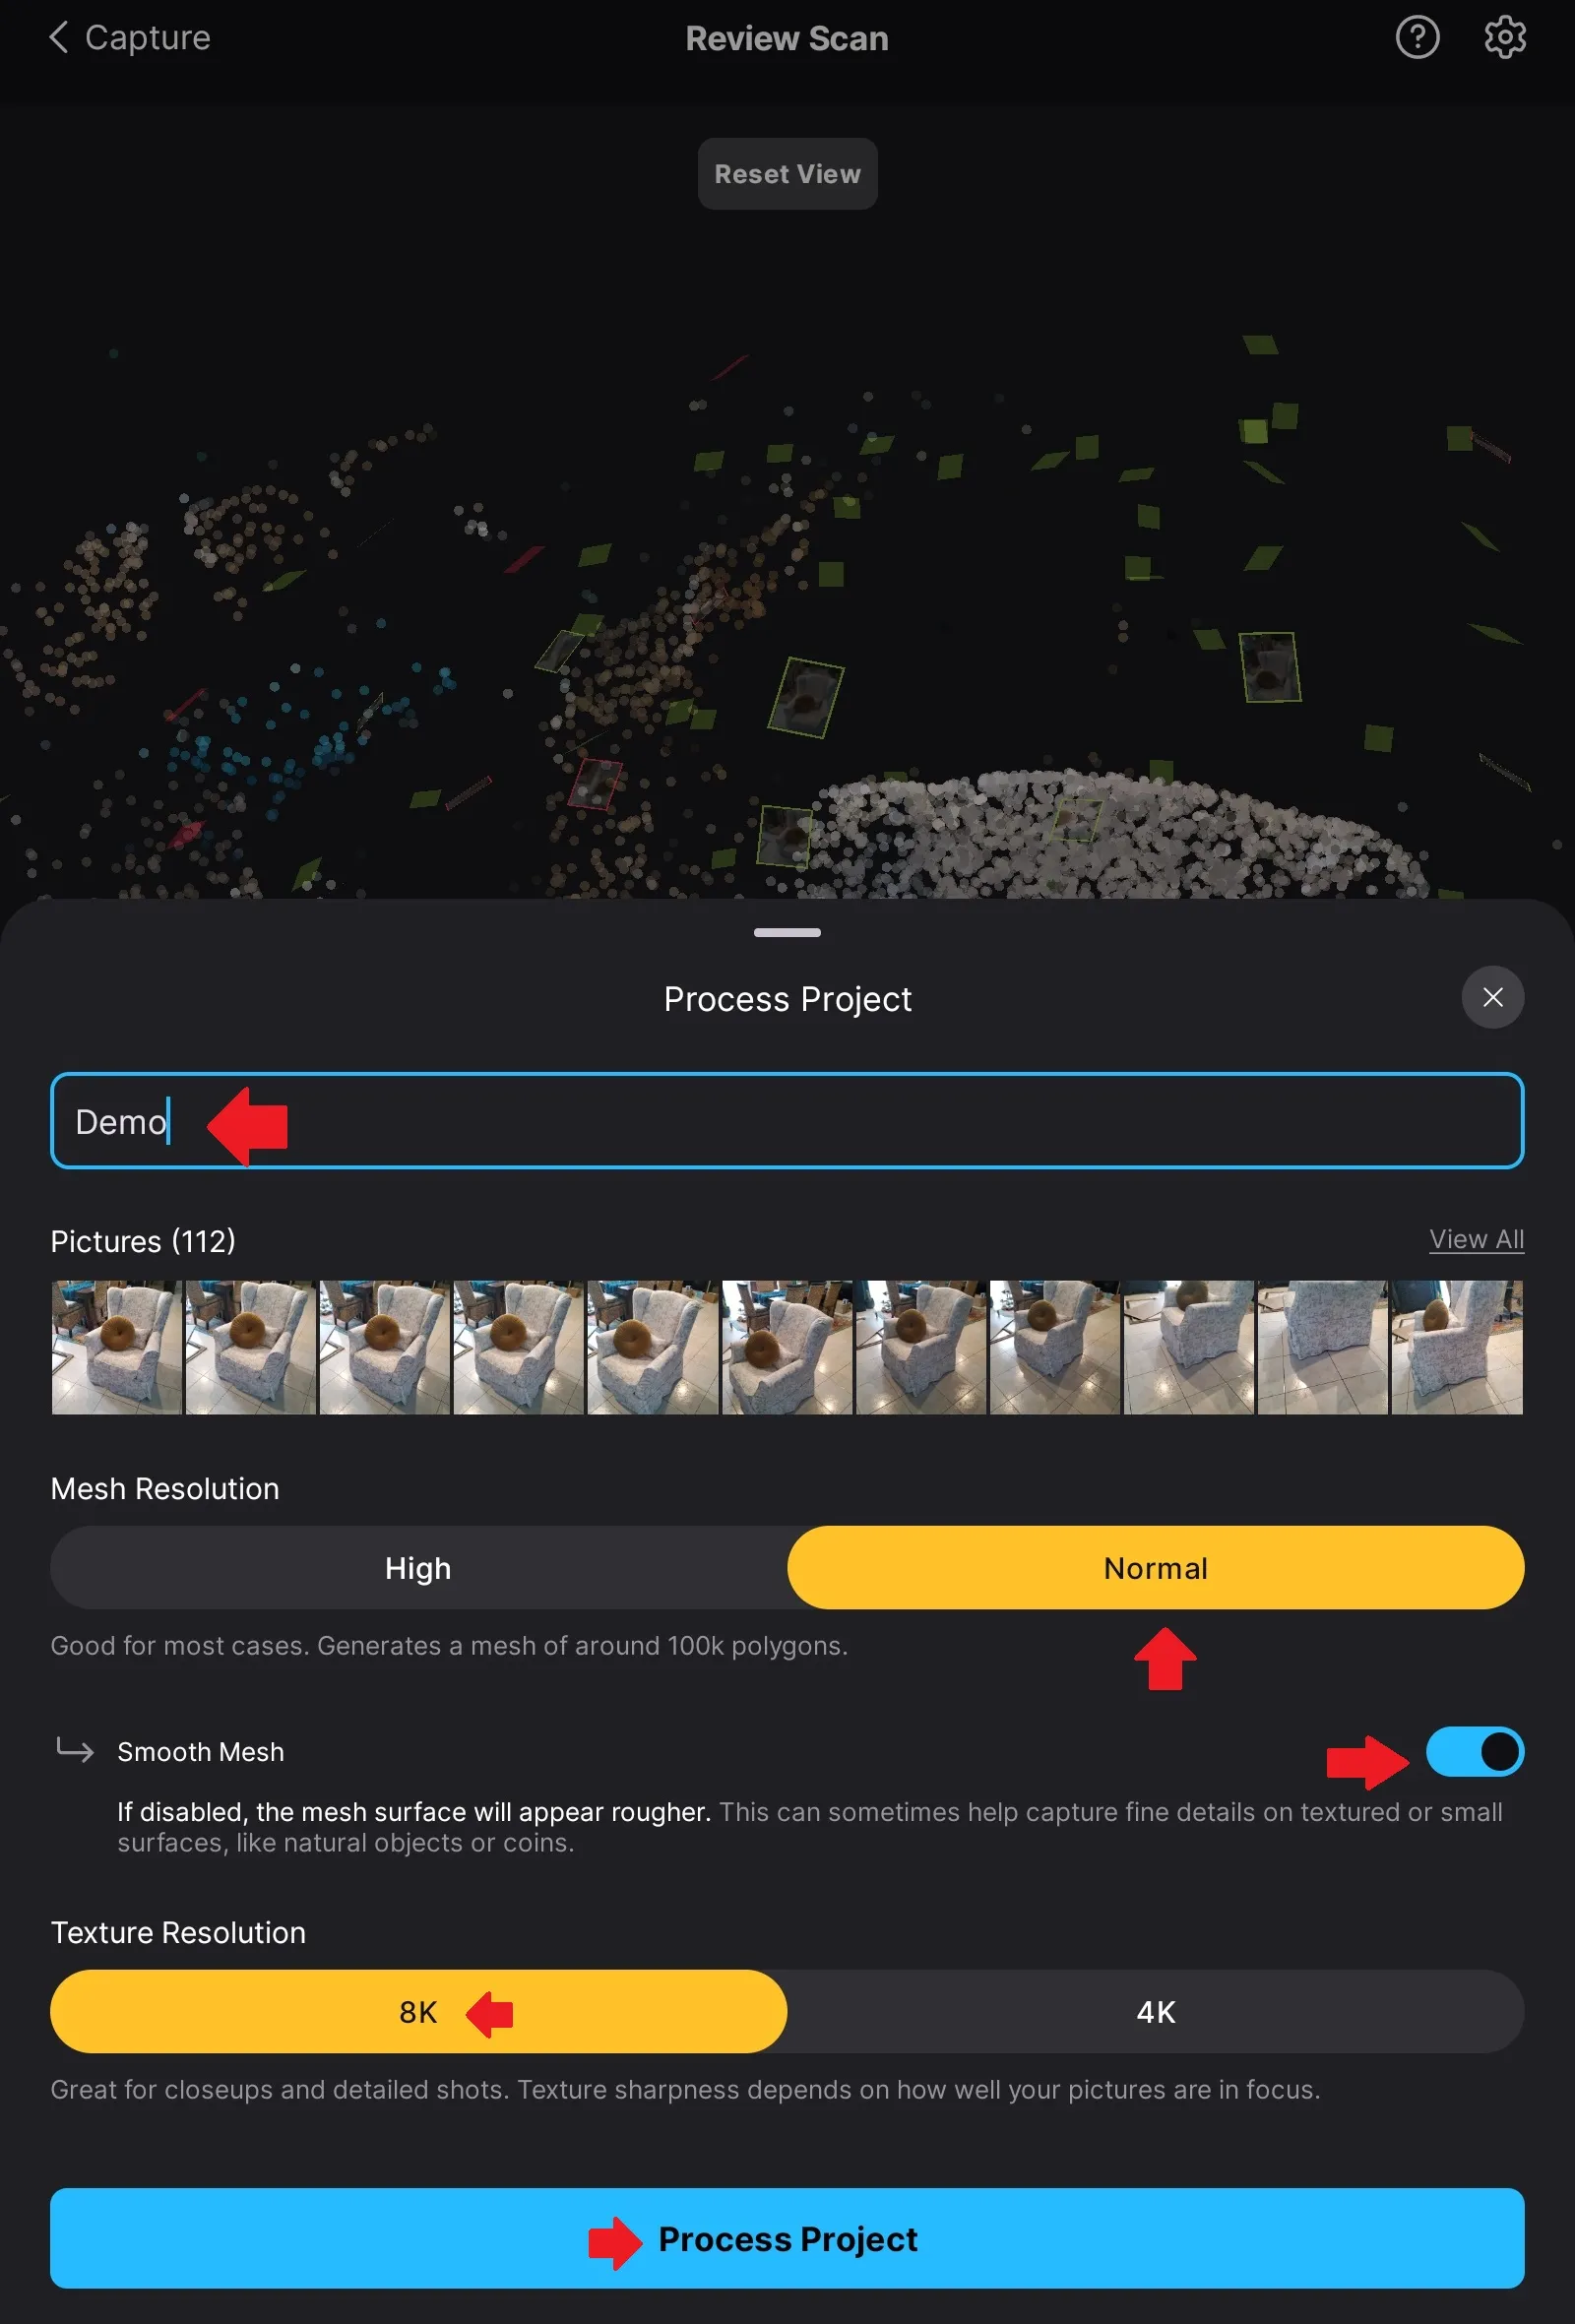
Choose the options shown in the screenshot, then click "Process Project".

Wait a few minutes for the object to be generated, then click on it.
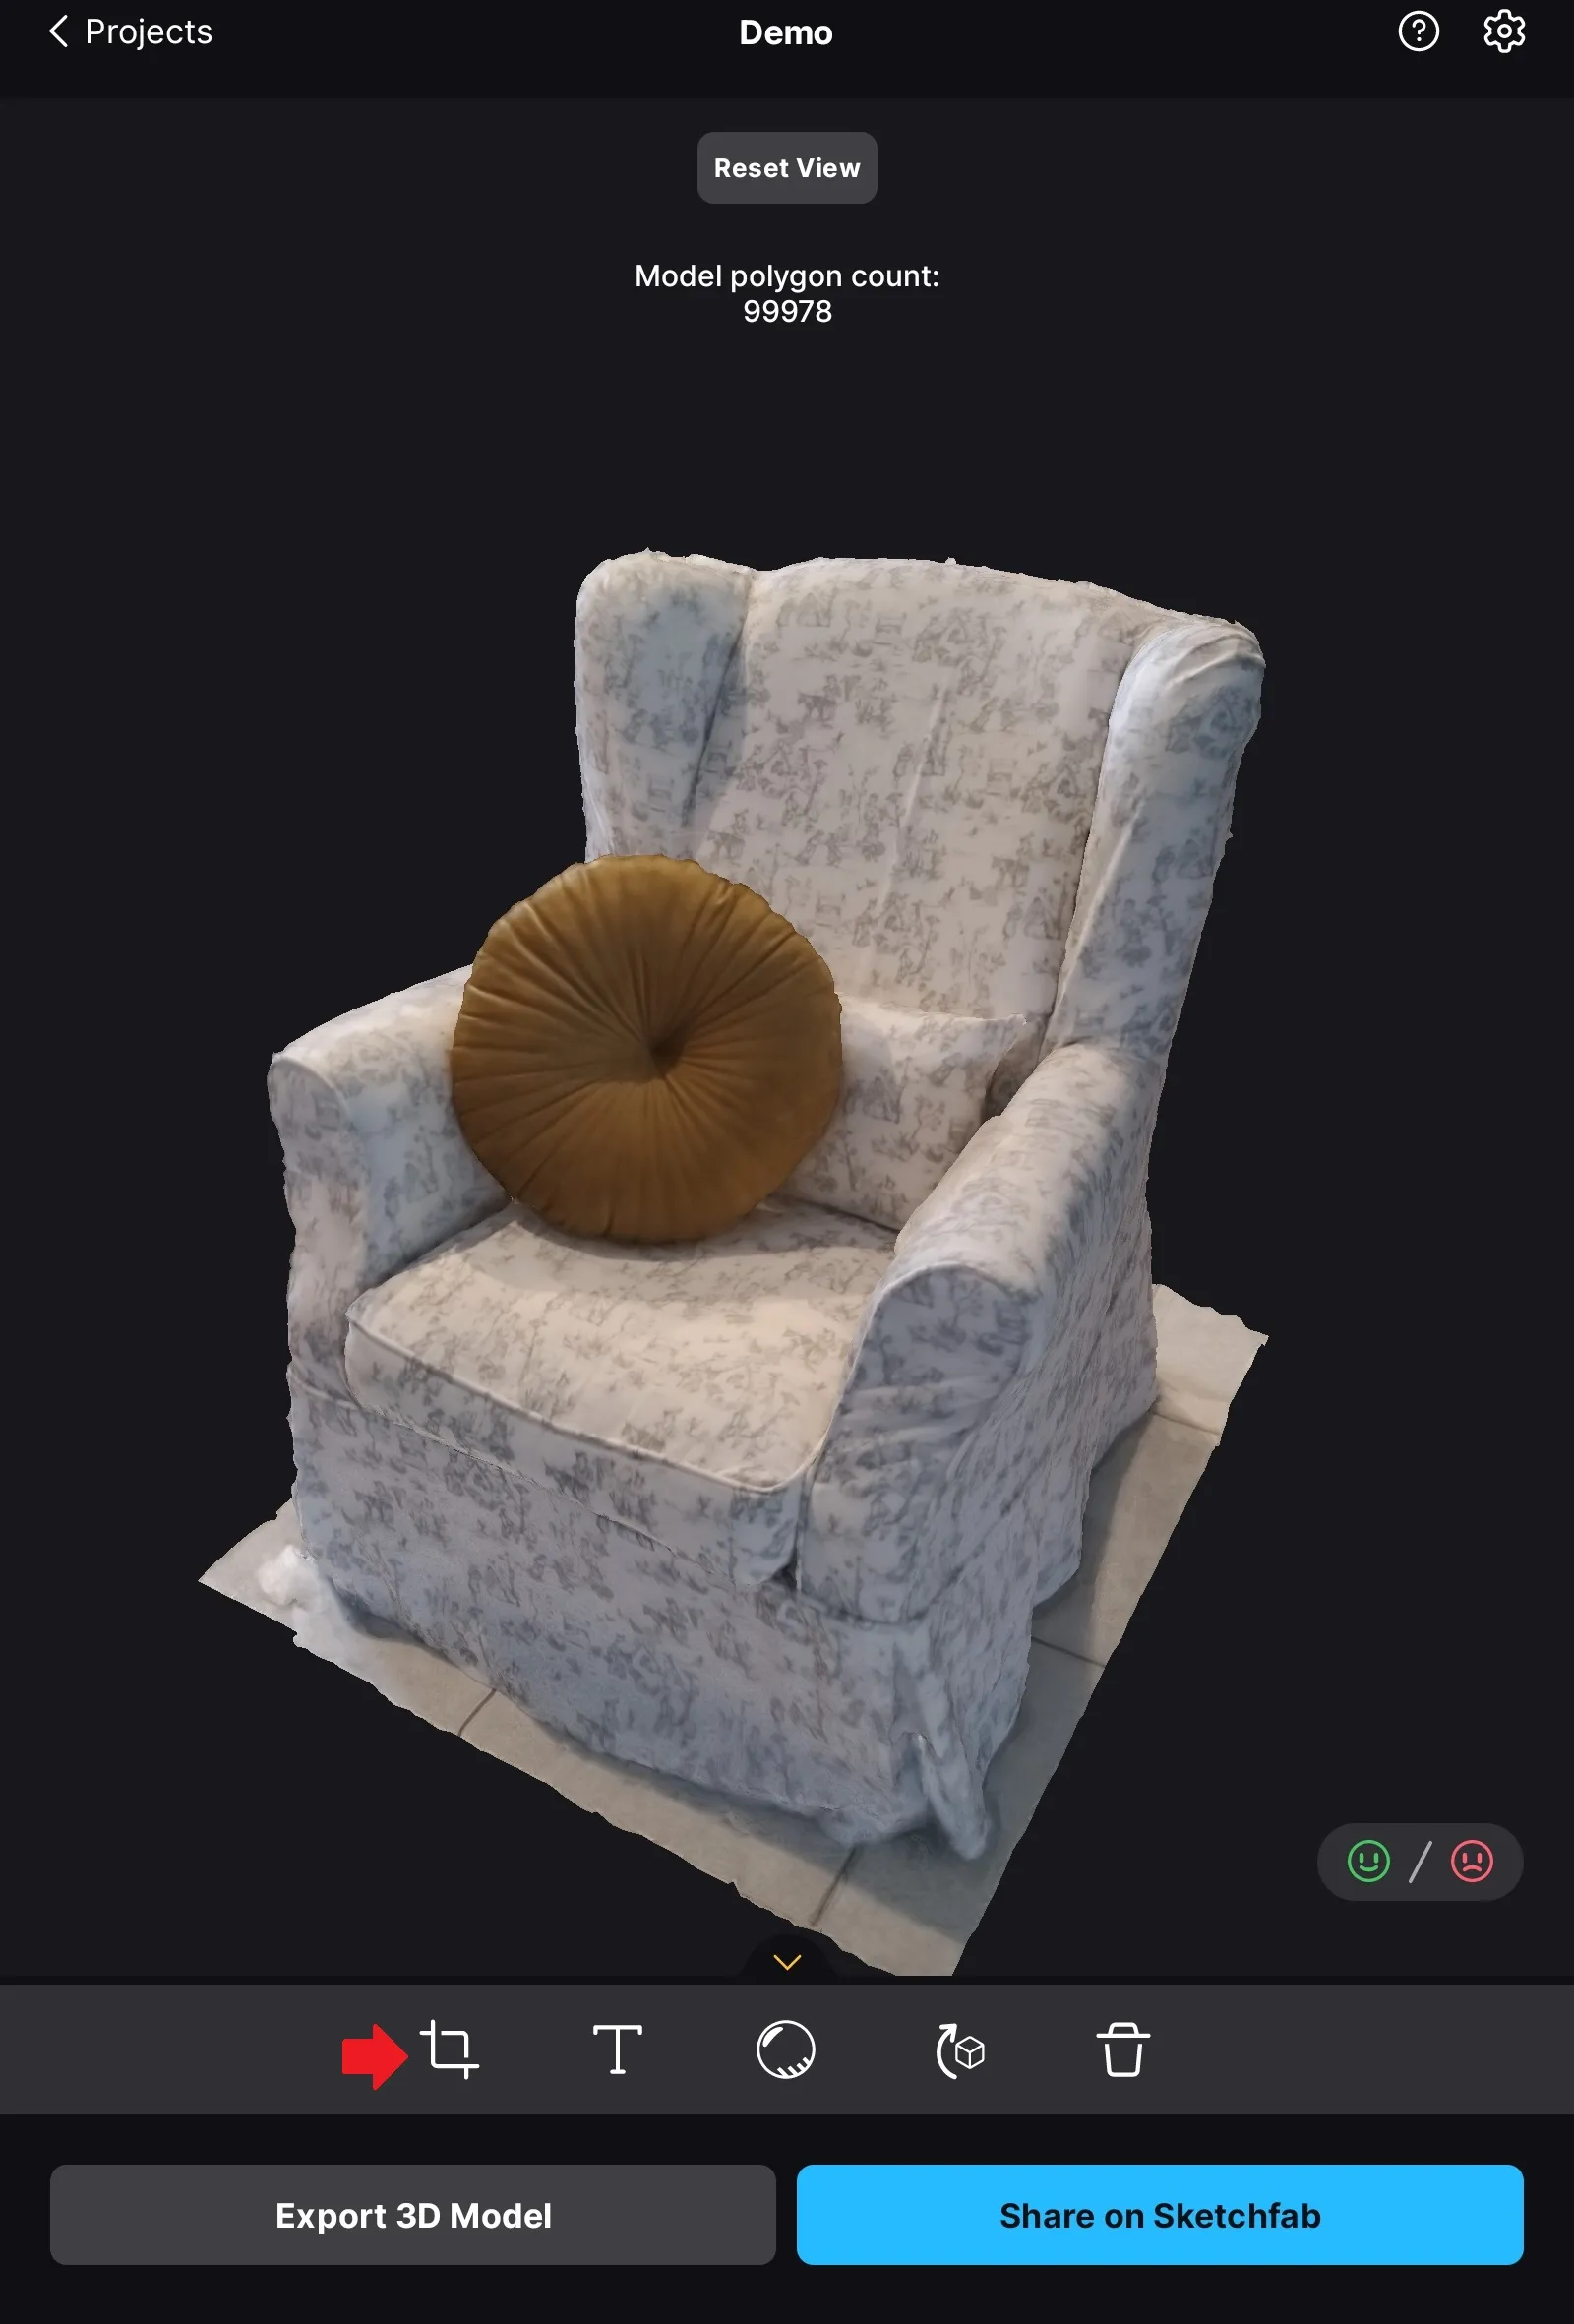
You’ll see your object rendered. One last step: remove the floor by clicking the button on the far left.
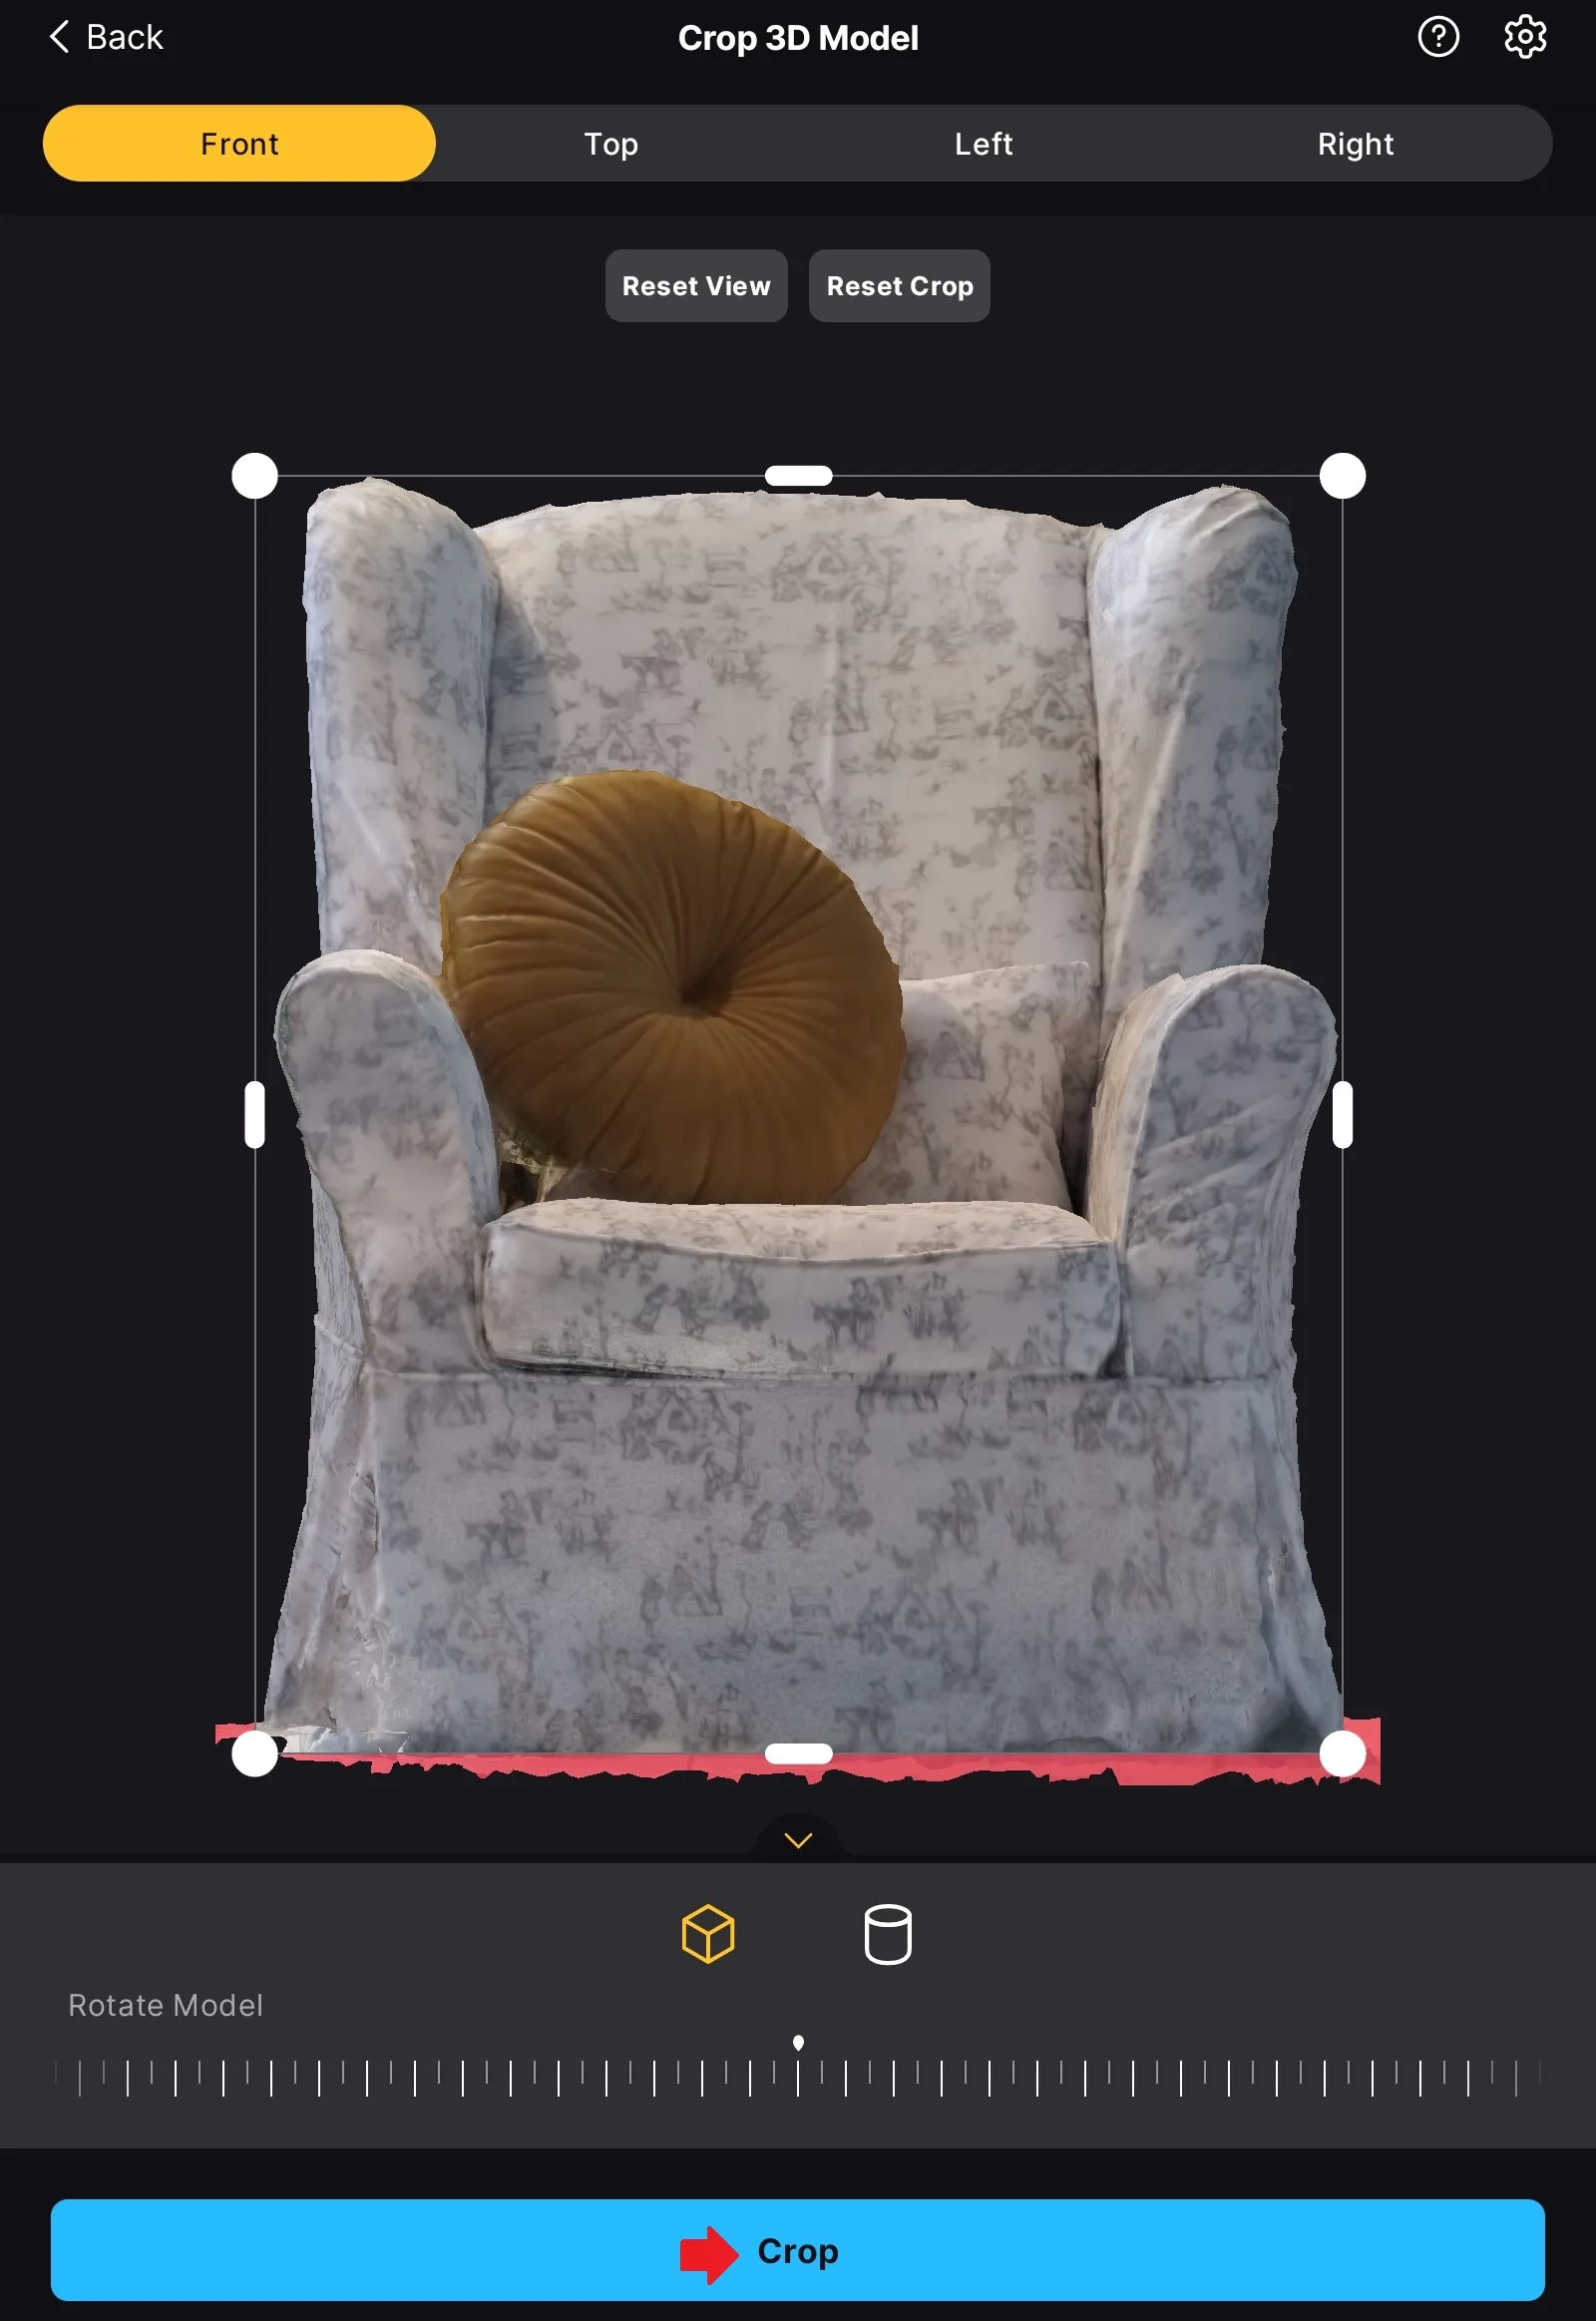
As before, crop the object to remove its surroundings. Raise the rectangle slightly to remove the floor, then click "Crop".
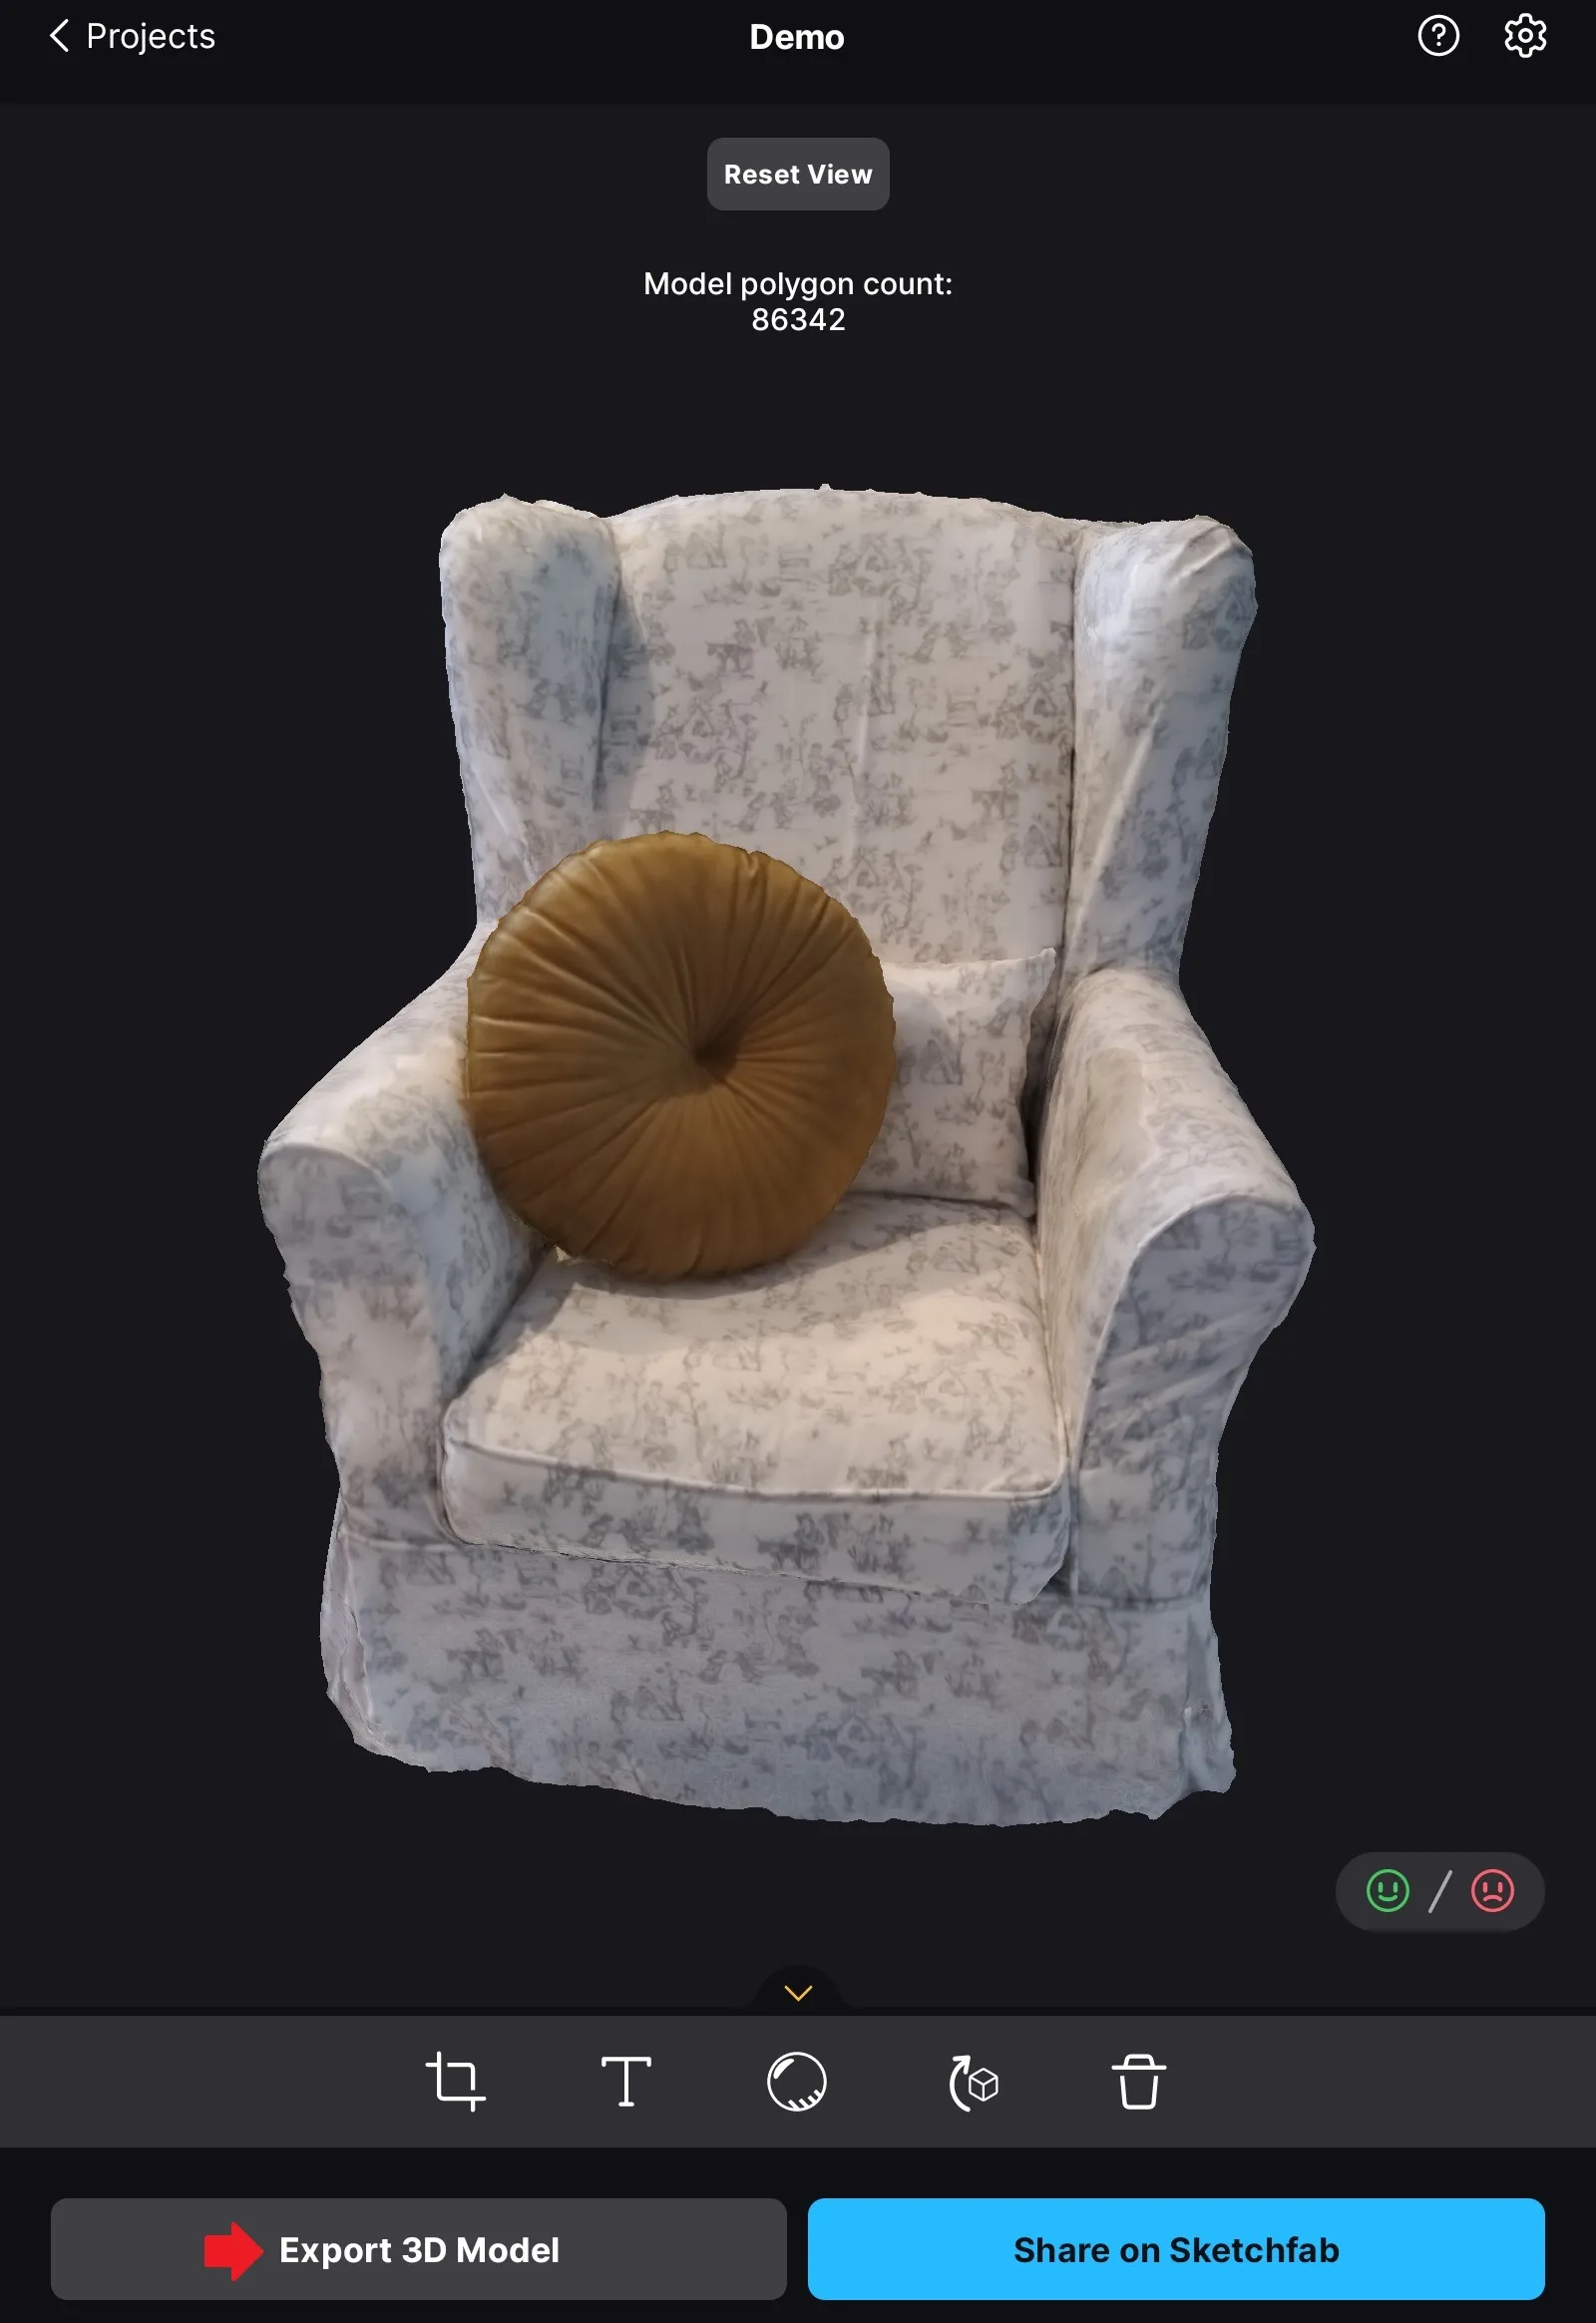
Your object is now ready! Click "Export 3D model" to import it into Visuality.
Importing the 3D model into Visuality
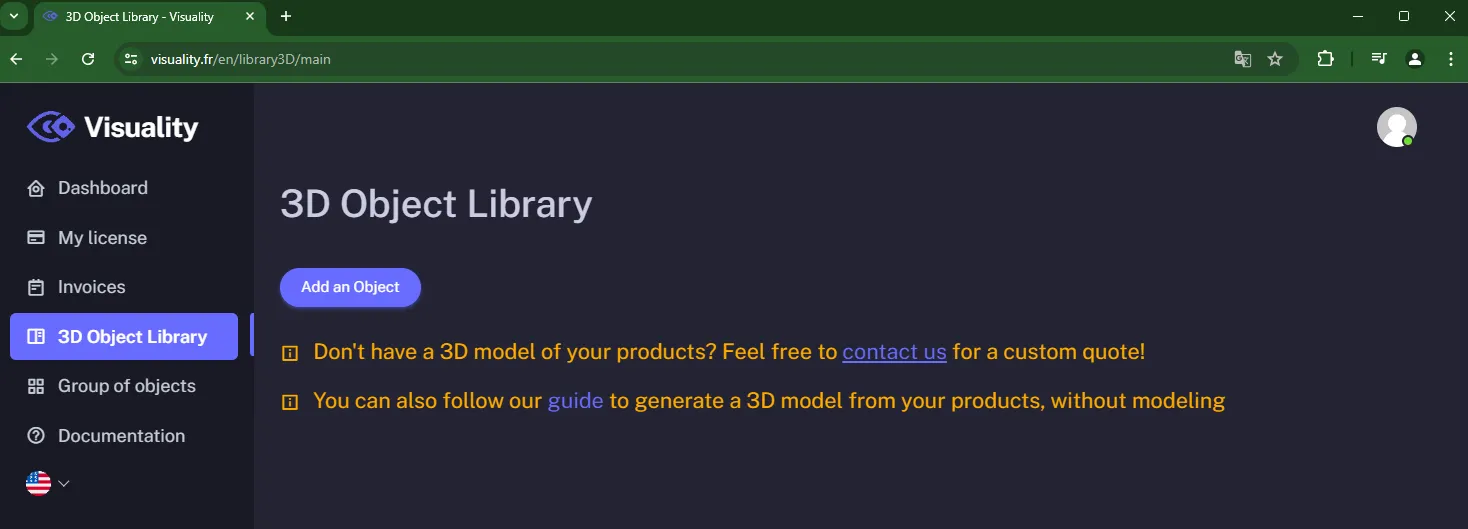
Go to your 3D object library then click the "Add Object" button.
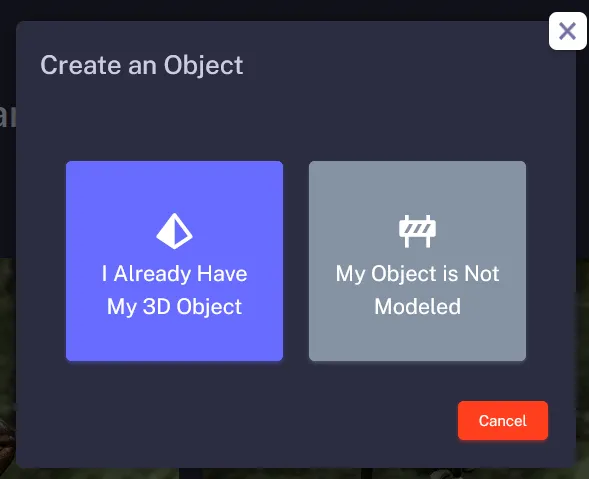
Select the option "I already have my 3D object".
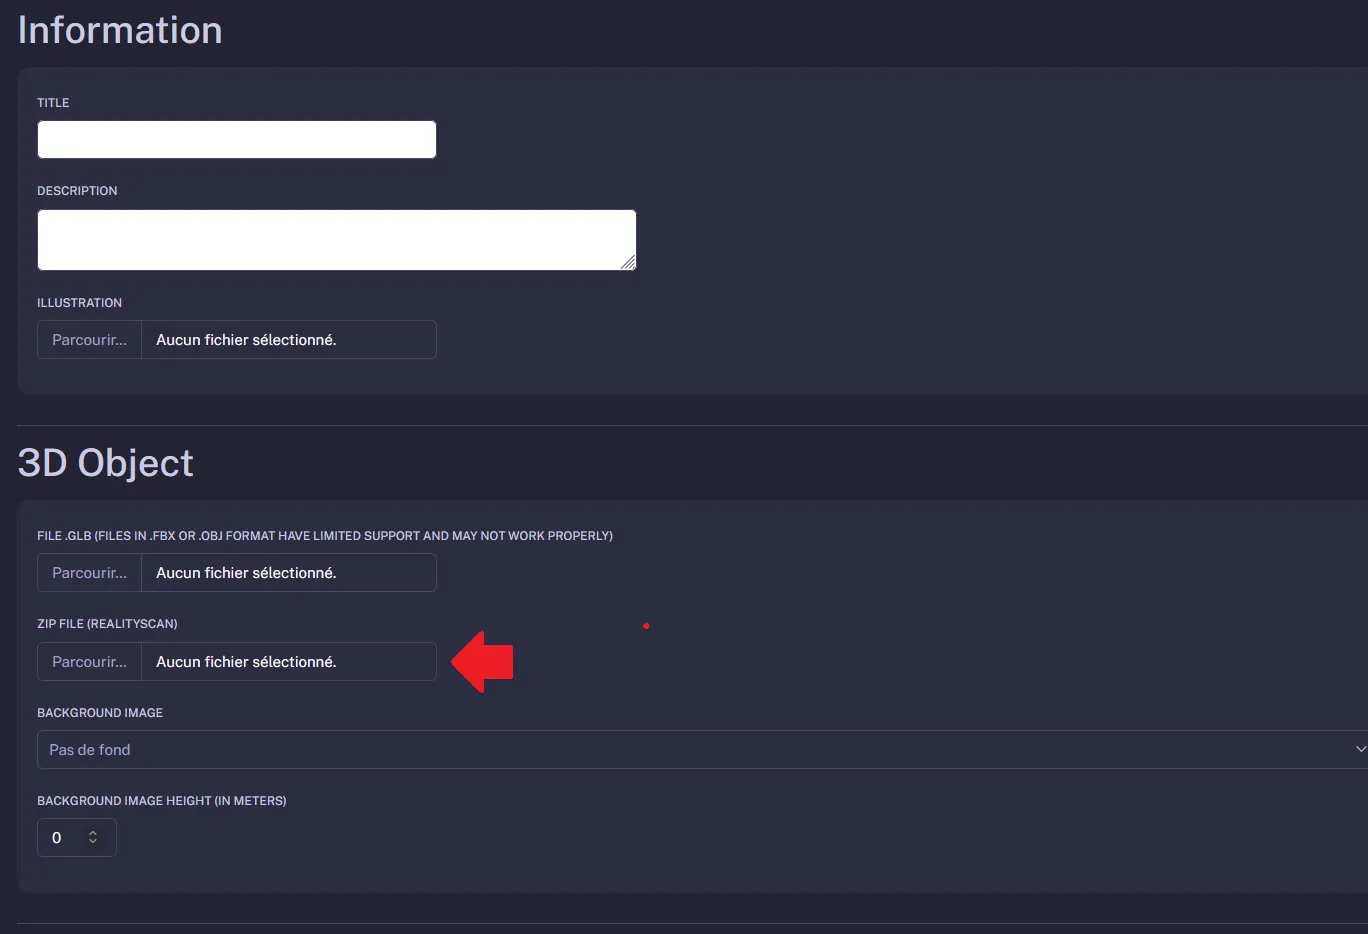
You will then arrive on the page for adding a 3D model.
After validation, you’ll return to your library.
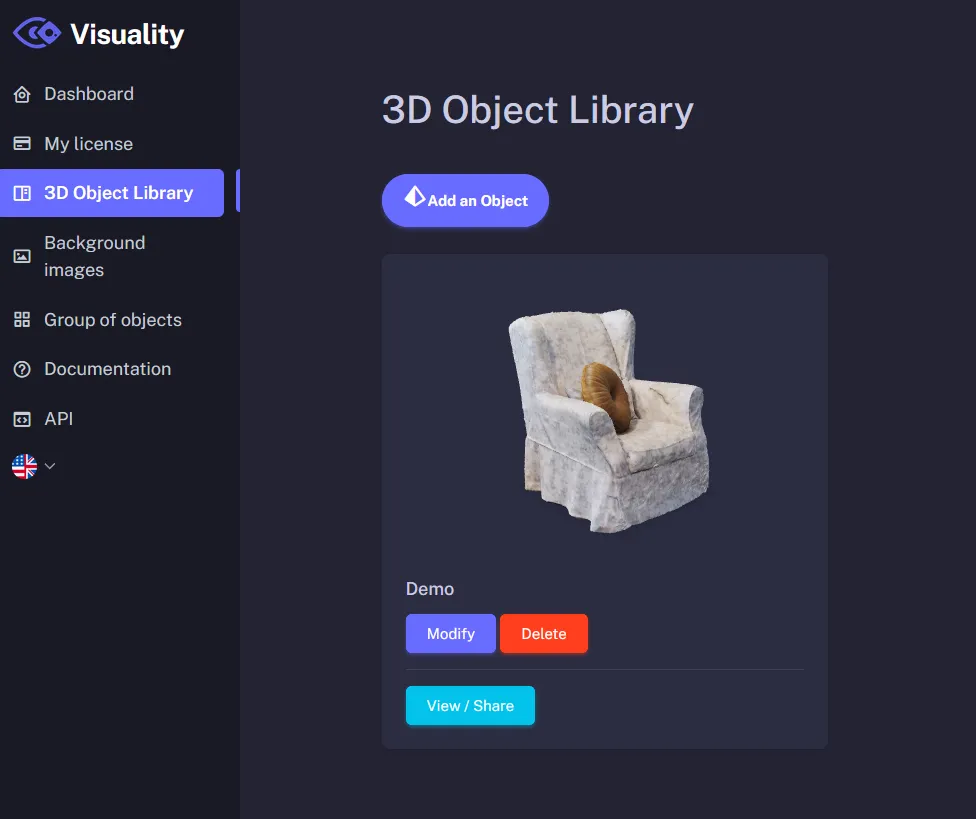
Congratulations, your 3D model is now ready to be viewed in augmented reality!
Augmented reality visualization
Click "View/Share". You arrive at the object sharing page.
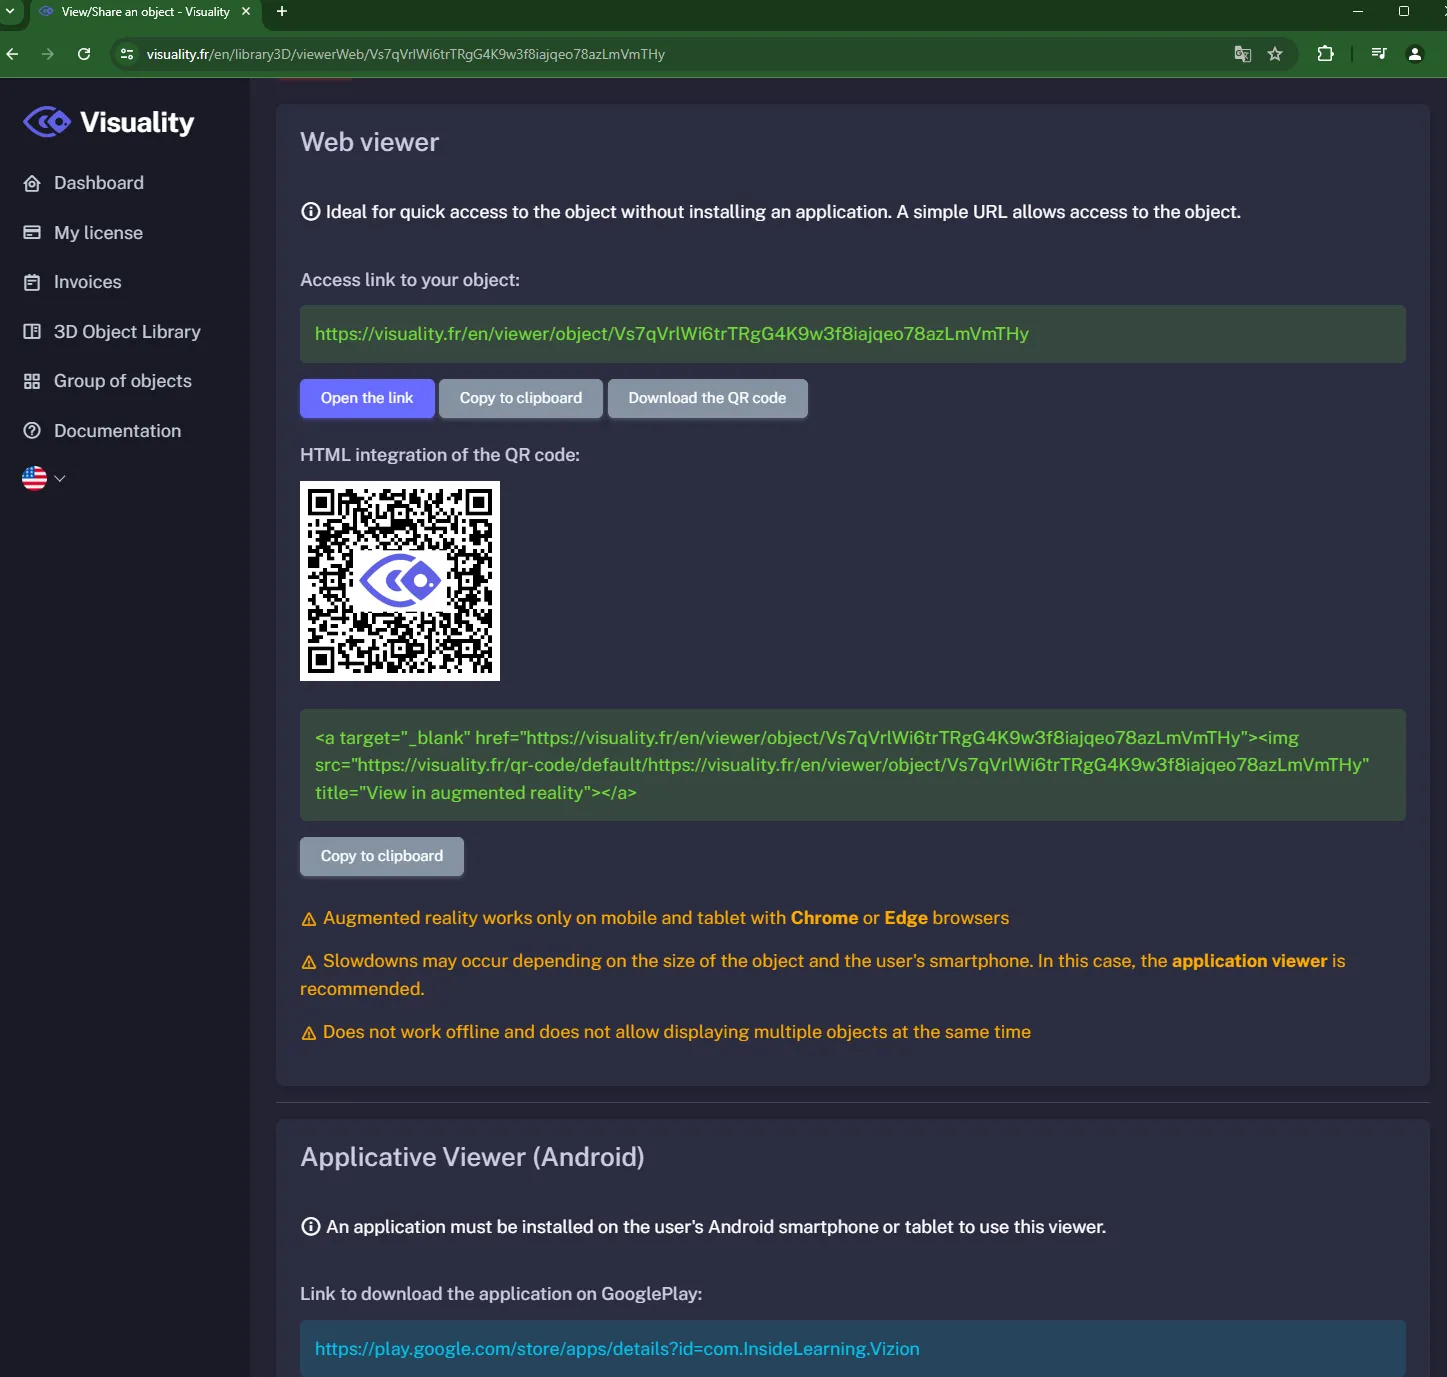
Two viewers are available:
Web Viewer: Accessible via a simple URL, no installation required.
App Viewer: Available via the Android app, ideal for large models and offline use.
You can generate a QR code for each viewer to easily share the model or integrate it into your website.
Questions? Feel free to contact us at contact@visuality.fr!